The Outdoor Apothecary is reader-supported. When you buy through links on our site, we may earn an affiliate commission. Learn more
Learn how to make extracts at home the easy way- with just a jar, alcohol, and your favorite flavorings. . Cheaper, healthier, and far better than store-bought.
If there’s a way to make something at home from scratch, I’m usually going to try it. Bread, jams, syrups, seasonings. It’s a preference I’ve held for as long as I’ve been cooking. I love knowing exactly what goes into the food we eat, and the homemade version almost always tastes better than what you can buy in the store.
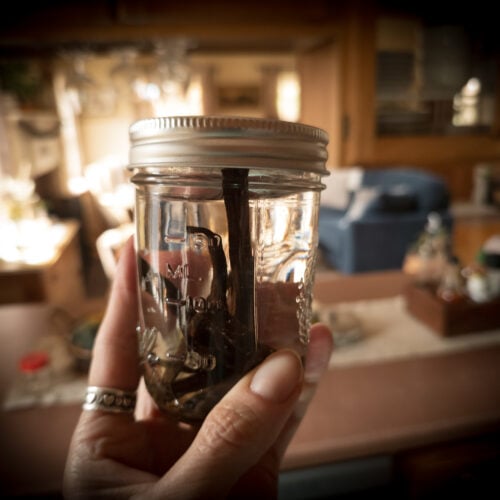
Extracts are one of my favorite things to make. They’re simple, they last for ages, and once you understand the basic method, you can flavor just about anything with ingredients you already have on hand. I’ve been making my own vanilla extract for years now, and it’s become one of my favorite hostess gifts during the holidays. (You can find my homemade vanilla extract recipe here.)
So if you’ve ever stood in the baking aisle staring at tiny overpriced bottles wondering whether you really need to spend that much, this guide is for you. Let me walk you through how to make extracts at home.
What Is an Extract, Really?
An extract is just a flavor pulled out of something (usually a plant, fruit, or bean) and dissolved into a liquid that holds onto it. Most of the time, that liquid is alcohol, because alcohol is excellent at pulling flavor compounds and oils out of botanicals and preserving them more or less indefinitely. The result is a small bottle of concentrated flavor you can use a few drops at a time in baking, cocktails, coffee, frostings, ice cream, marinades, and more.
You’ve seen the little bottles at the store. The ones with ingredients like “natural flavor,” “propylene glycol,” and “caramel color” listed before any actual flavoring. Sometimes the flavor you’re paying for isn’t even derived from the real thing. Homemade extracts have two ingredients. Sometimes three. That’s it.
Why Make Your Own Extracts
I make my own extracts, syrups, seasonings, and pantry staples for a few reasons, and they’re the same reasons I make most things at home.
It’s cheaper. A four-ounce bottle of decent vanilla extract at the grocery store usually runs somewhere between twelve and twenty dollars. I can make four times that amount for the same price (sometimes less), and the quality is far better.
It’s healthier. When I make it myself, I know exactly what’s in the bottle. No additives, no mystery ingredients, no fillers.
I have control. I can choose organic beans, source local spirits, or strain my extract through cheesecloth six times if I feel like it. I get to decide what goes in and what stays out.
It’s incredibly easy. Most extracts come together in about five minutes of active work. After that, time does the rest.
The flavor is better. This is the biggest reason I keep making them. Homemade extracts taste like the ingredient they’re made from. A lemon extract tastes bright and citrusy. A mint extract tastes like fresh mint leaves from the garden. Once you’ve baked with homemade extracts, it’s hard to go back.
And honestly, there’s something satisfying about learning how to make extracts and then reaching into the pantry and pulling out a little bottle that you made yourself.
What You’ll Need
The supply list for extract-making is almost embarrassingly short.
- A clean glass jar with a tight-fitting lid. Mason jars work beautifully, but a small recycled jar tucked into a dark cupboard works just as well.
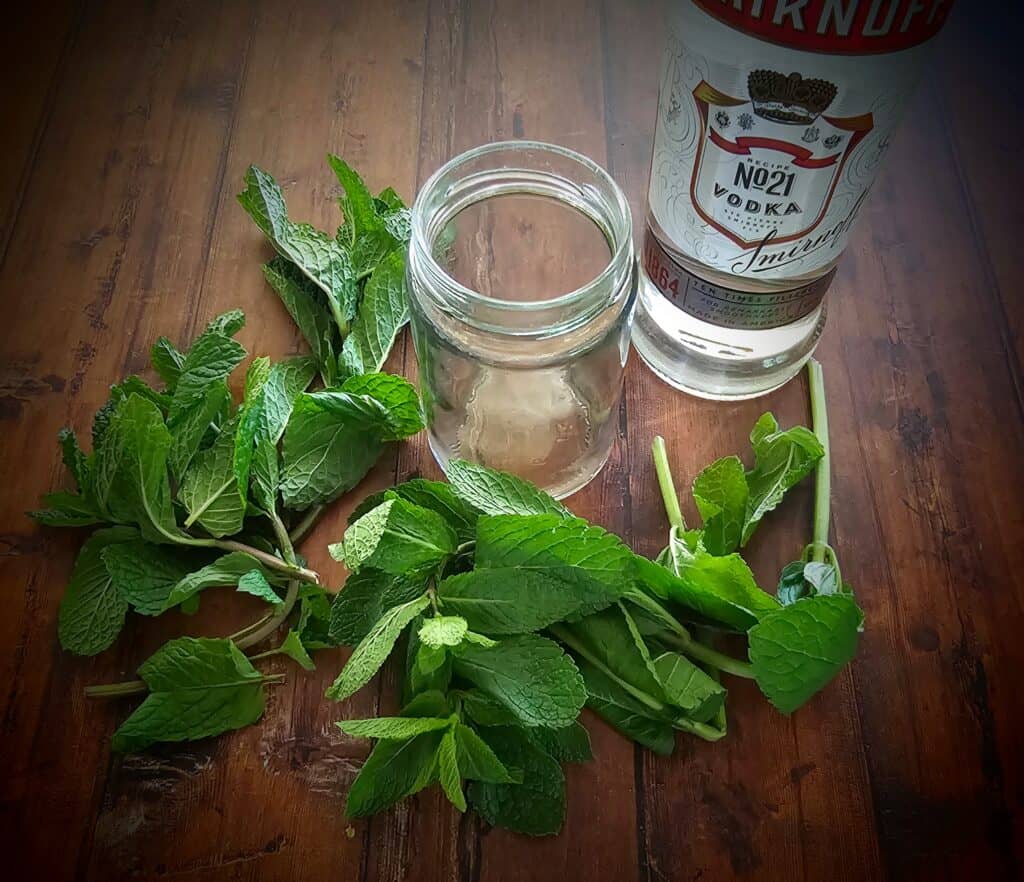
- A neutral, high-proof alcohol. Vodka is the classic choice because it has very little flavor of its own and lets the botanical shine through. You can also use bourbon, rum, brandy, or even gin depending on what you’re making.
Aim for 80 proof (40 percent alcohol) or higher. For most kitchen extracts, standard 80-proof vodka works beautifully. While higher-proof alcohol can extract flavors more quickly, it can also pull out bitter compounds from some ingredients, so stronger isn’t always better.
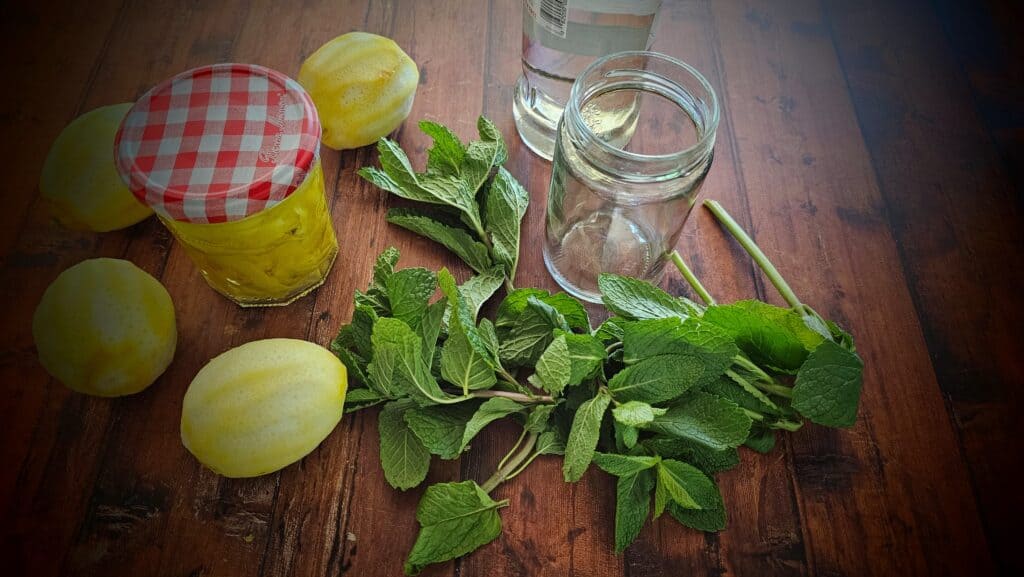
- Your flavoring ingredient. This is the fun part. Vanilla beans, lemon zest, fresh mint leaves, coffee beans, whole spices, dried herbs, cocoa nibs—whatever you’d like to capture.
- A bit of patience. Most extracts need at least a few weeks to develop full flavor. Some take months. The good news is they require almost no attention while they sit.
Best Extracts for Beginners
If you’re new to making homemade extracts, start with ingredients that are easy to work with and develop flavor reliably.
Extract | Ready In | Best Uses |
Vanilla | 8 weeks to 6 months | Cookies, cakes, custards |
Lemon | 2–4 weeks | Baking, frostings, tea |
Orange | 2–4 weeks | Holiday baking, cocktails |
Mint | 3–6 weeks | Desserts, coffee drinks |
Coffee | 1–2 weeks | Chocolate desserts, frostings |
Cinnamon | 4–6 weeks | Baked goods, oatmeal, holiday recipes |
My first homemade extract was vanilla, but coffee extract was the one that surprised me most. It develops flavor remarkably quickly and adds incredible depth to chocolate desserts and buttercream frosting.
How to Make Extracts: The Basic Method
Once you have your ingredients, the process is the same no matter what flavor you’re making.
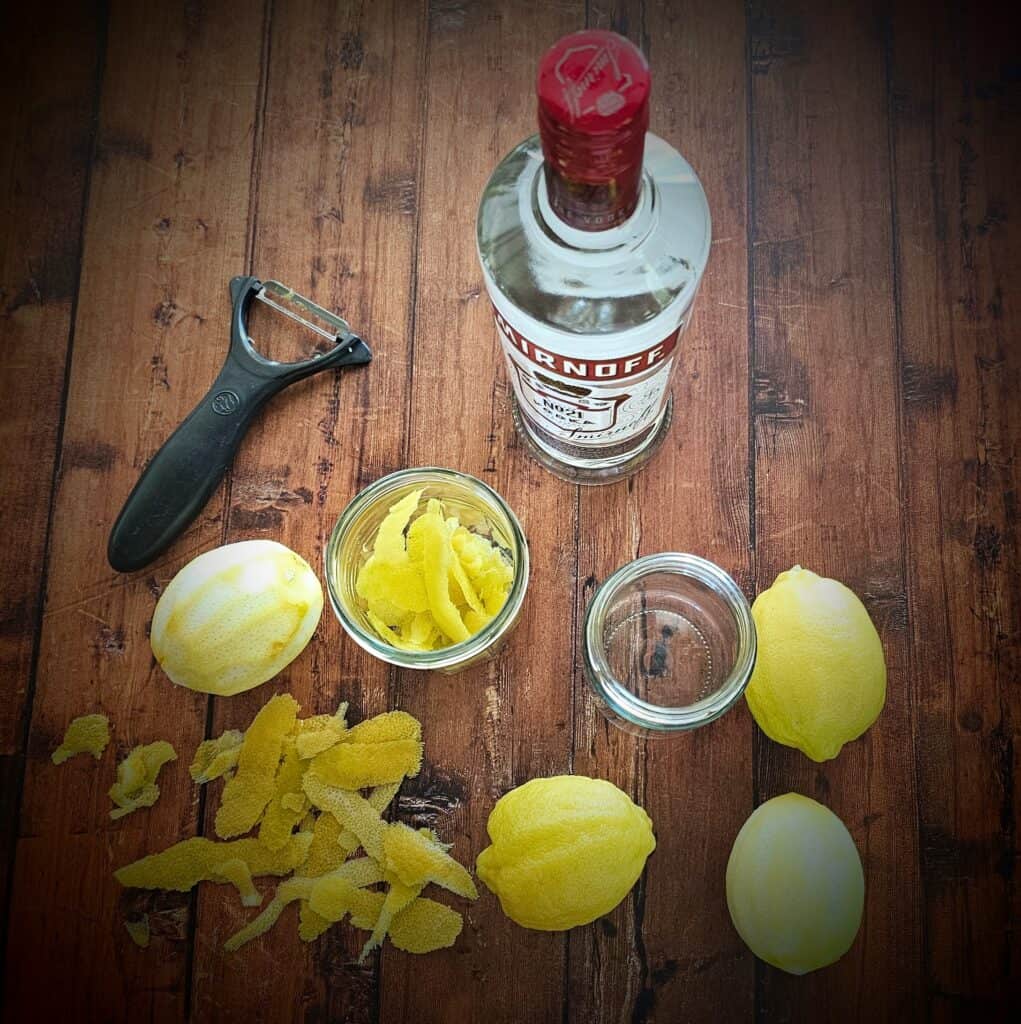
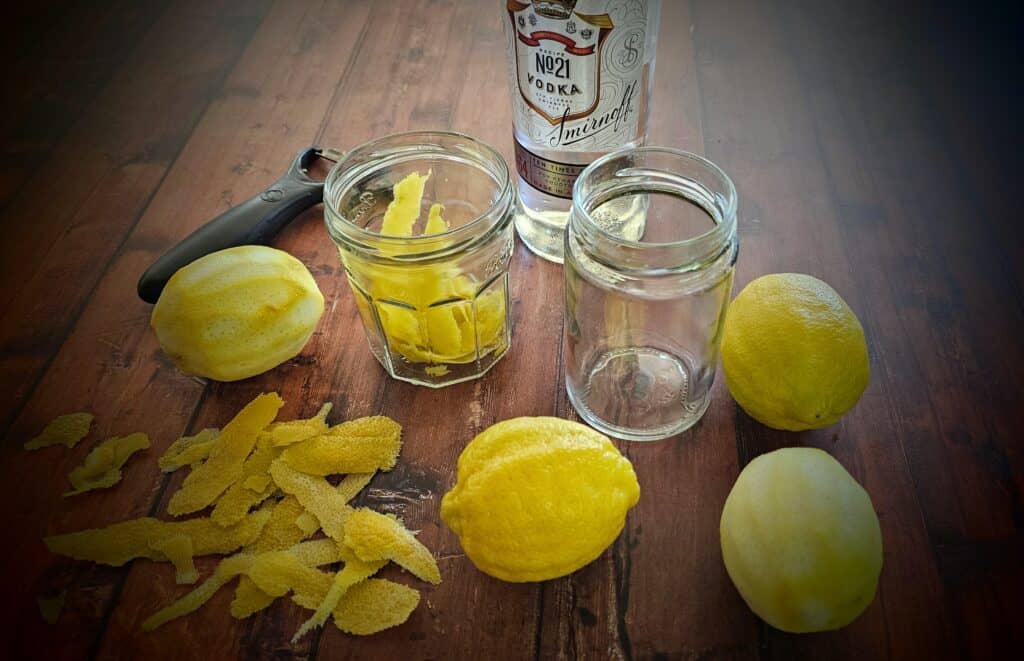
- Prepare your ingredient. Split vanilla beans down the middle. Use a microplane or vegetable peeler to take off lemon zest, orange peel, or lime peel, and leave the bitter white pith behind. Crush or lightly bruise whole spices. Tear fresh mint leaves or basil to expose more surface area. You want as much of your ingredient touching the alcohol as possible.
- Add it to your jar. A good rule of thumb is to fill the jar about a quarter to halfway full with your flavoring. More is usually better than less, especially for milder flavors like mint or coffee.
- Pour the alcohol over. Submerge everything completely. Floating bits exposed to air can sometimes spoil, so press your ingredients down if needed.
- Seal it and shake. Give it a good shake to mix everything up.
- Store somewhere cool and dark. A pantry, cupboard, or shelf away from sunlight is perfect.
- Shake the jar once a week or so. This helps the alcohol pull more flavor from the ingredients. I usually do mine on Sundays when I’m puttering around the kitchen.
- Taste and strain when ready. Most extracts are ready in four to eight weeks. Vanilla gets better the longer it sits and can be left for six months or more. When the flavor is strong and pleasing to you, strain through a fine-mesh sieve lined with cheesecloth or a coffee filter, and bottle. A coffee filter takes a little longer to drain but catches even the finest particles, which makes for a clearer, prettier extract.

How Long Do Extracts Take?
It depends on what you’re making and how patient you are. Here’s a rough guide:
- Vanilla: 8 weeks minimum. 6 months is glorious.
- Citrus zest (lemon, orange, lime): 2 to 4 weeks.
- Fresh herbs like mint leaves or basil: 3 to 6 weeks.
- Coffee beans: 1 to 2 weeks.
- Whole spices like cardamom or cinnamon: 4 to 6 weeks.
Taste along the way. If it isn’t strong enough yet, give it more time. If it tastes good but you’d like it bolder, add more of your ingredient and let it keep steeping.
Food Safety Notes
Learning how to make extracts is wonderfully simple, but a few precautions help ensure the best results.
- Start with clean jars, lids, and utensils.
- Use fresh, high-quality ingredients free from mold or spoilage.
- Keep all plant material fully submerged beneath the alcohol.
- For citrus extracts, use only the colored outer zest and avoid the bitter white pith.
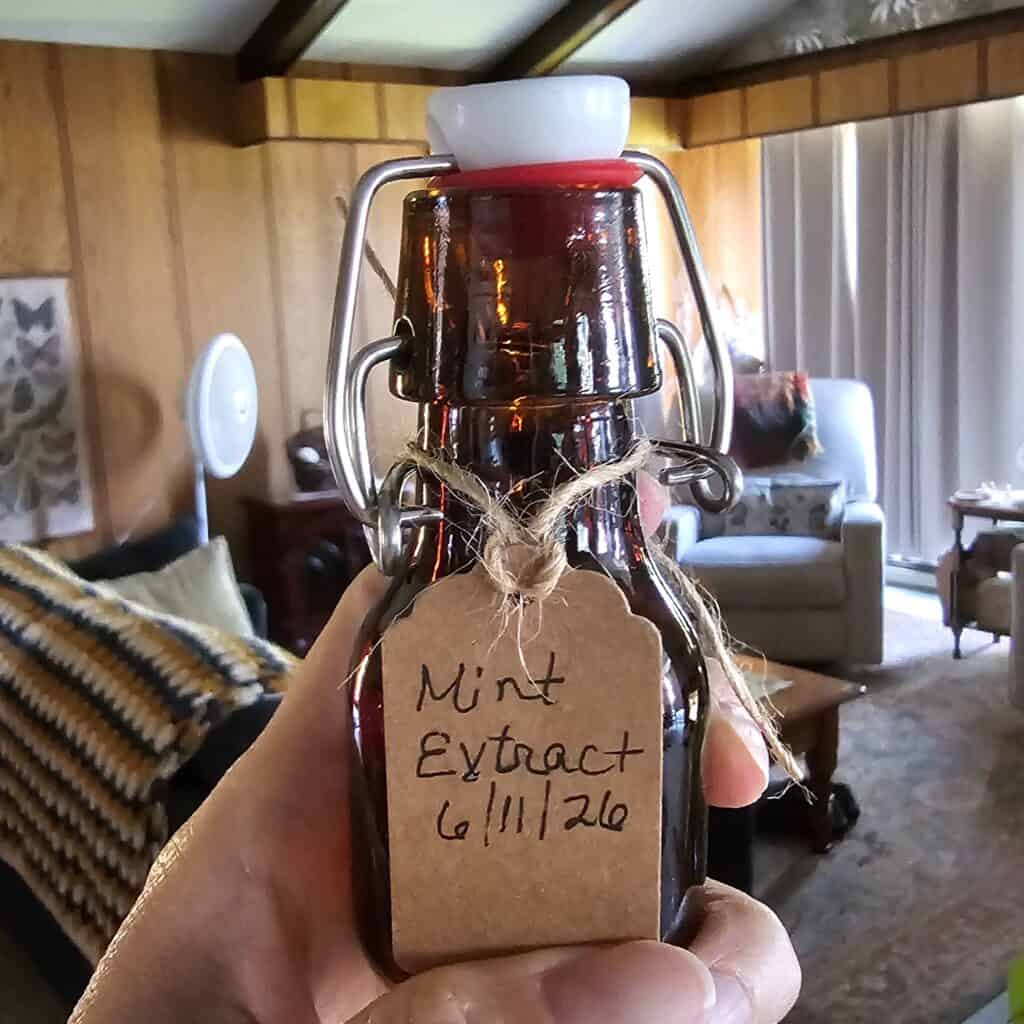
- Label every jar with the contents and the date you started it.
- Store steeping extracts in a cool, dark place away from direct sunlight.
Because alcohol is such an effective preservative, properly made alcohol-based extracts have an exceptionally long shelf life.
Storage and Shelf Life
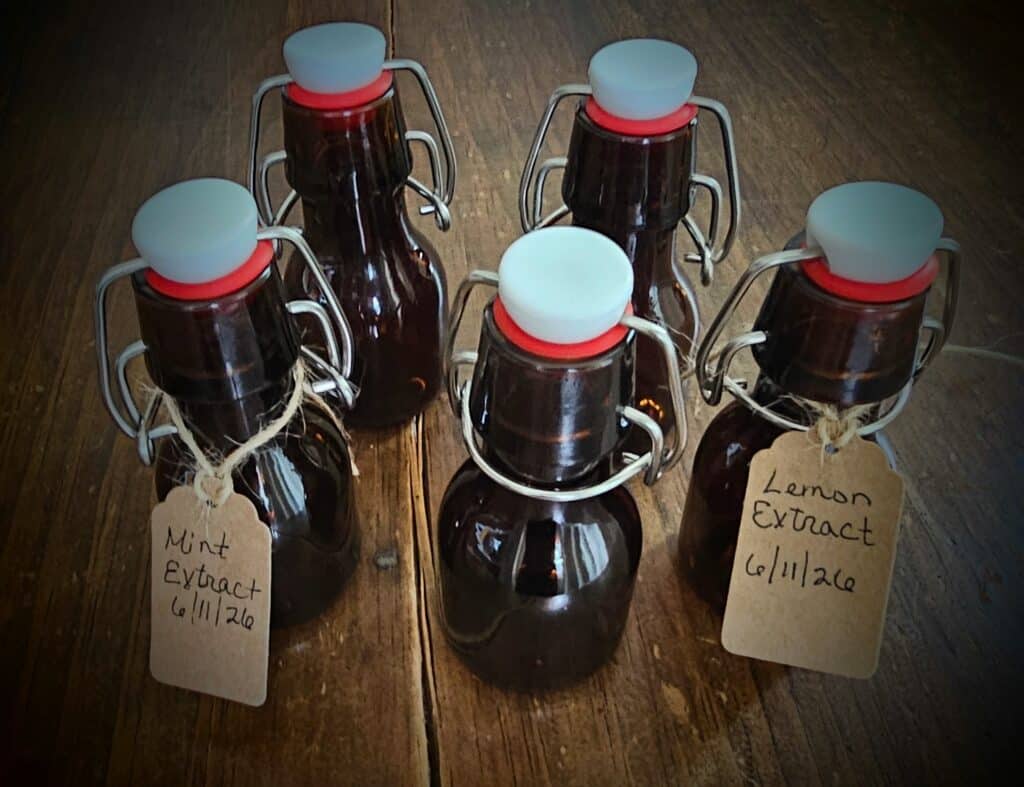
Once strained, store your extract in a clean glass bottle in a cool, dark place. Because of the alcohol, properly made extracts essentially do not spoil. I’ve used vanilla extract that sat in my cupboard for three years and it was still wonderful.
Small amber swing top bottles make a beautiful gift-sized presentation, especially with a handwritten label and a bit of twine.
A Note on Non-Alcohol Extracts
If you’d rather skip the alcohol entirely, non-alcohol extracts are absolutely possible.
The most common method uses food-grade vegetable glycerin in place of alcohol. Glycerin is naturally sweet and slightly syrupy, and it does a reasonable job of extracting and preserving flavor compounds.
The resulting extract is usually milder than an alcohol-based version, and the shelf life is shorter—typically about a year when refrigerated—but it works well for vanilla, citrus, and mint.
I’ll be sharing more about non-alcohol extracts in a future post, including a few tricks I’ve learned for coaxing stronger flavor from glycerin-based infusions.
A Few Tips That Make a Difference
- Quality matters. A bottle of cheap vodka is fine, but if you’re using premium beans or organic citrus, better alcohol gives you a better final product.
- Don’t skip the weekly shake. It really does speed up the infusion.
- Label everything. I cannot tell you how many unmarked jars I’ve had to sniff and taste-test over the years. A piece of masking tape and a Sharpie is all you need. Write the date.
What’s Coming Next
This is the foundation. In the coming weeks, I’ll be sharing specific recipes for some of my favorites:
- Mint extract
- Orange extract
- Lemon extract
- Coffee extract
- Cardamom extract
- Cinnamon extract
And many more. Each one has its own quirks and small tricks, but they all start with what you just read here.
Once you learn how to make extracts for yourself, it’s hard to go back. There’s something very satisfying about pulling a little bottle off the shelf and knowing you made it yourself, from real ingredients, for a fraction of the cost. And when you start gifting them to friends and family at the holidays, well. Be prepared to be asked for them again every year.
More to Explore
If you enjoyed this article on how to make extracts, you might also enjoy these related articles:
- Homemade Vanilla Extract: A Simple Heartfelt Gift — Learn how to make rich, flavorful vanilla extract that also makes a thoughtful handmade gift.
- Motherwort Tincture: Benefits and Easy DIY Guide — Discover how to make one of the most beloved herbal tinctures for your home apothecary.
- Elderberry Syrup for Incredible Immune Support — A classic homemade herbal preparation that belongs in every self-reliant kitchen.
- Create a Healing Tea Garden: 41 Best Herbs — Grow many of the herbs that can be transformed into homemade extracts, teas, and other herbal preparations.
- Medicinal Herbs for Tea: Tips for Growing Your Own Amazing Garden — Learn which herbs are easiest to grow and how to create your own tea garden.
- 6 Amazing Health Benefits of Mint — Perfect if you’re planning to make homemade mint extract from fresh garden herbs.
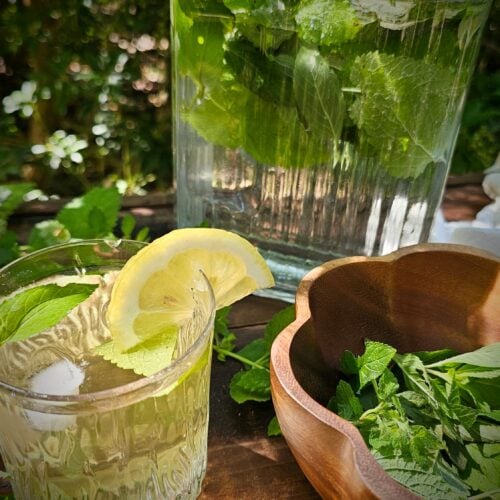
- Mint and Lemon Balm Iced Tea Recipe — Put your homegrown herbs to use in refreshing homemade beverages.
- Gingerbread Syrup: Simple, Spiced, and Perfect for Winter — Another easy pantry staple that captures homemade flavor in a bottle.
- The Food and Medicine of the Juniper Tree — Explore a traditional flavoring plant that has long been used in food, medicine, and spirits.
- Root Cellar: Preserving a Bountiful Harvest — Continue your journey toward a more self-reliant kitchen and pantry.
Don't Forget to Subscribe to Our Newsletter

Are you passionate about connecting with nature and exploring the world of herbal remedies? Join our community by subscribing to our weekly newsletter! As a subscriber, you’ll gain exclusive access to our members-only freebie and resource library, packed with valuable guides, recipes, and tips for living a more natural and sustainable lifestyle, closer to nature.
As an Amazon Associate, I earn from qualifying purchases.
