The Outdoor Apothecary is reader-supported. When you buy through links on our site, we may earn an affiliate commission. Learn more
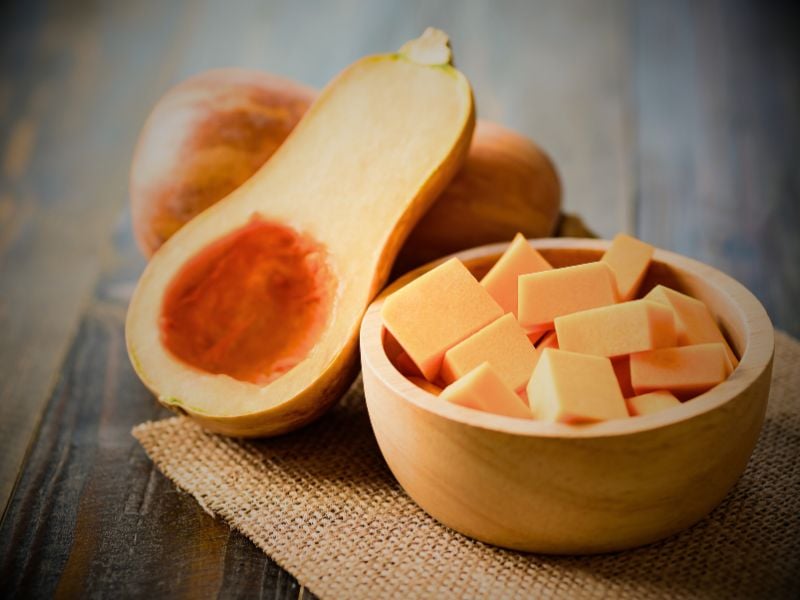
Every summer, I plant a variety of squash on the hugelkultur in my food forest. One of my favorite squashes is butternut squash. With its sweet, nutty flavor and versatile nature, it’s a staple in my kitchen. I always grow enough to store fresh for a few months, and the rest I preserve by freezing to extend its shelf life. Freezing butternut squash is an excellent way to lock in its freshness and texture, ensuring that I can enjoy it long after the growing season ends. Here are two ways I do this.

Why I Freeze Butternut Squash
There’s something deeply satisfying about growing my own food and knowing that I can enjoy it long after the growing season ends. Butternut squash, with its sweet, nutty flavor, is one of my absolute favorites. It’s incredibly versatile, perfect for everything from soups to side dishes. But as much as I love it, I know that its shelf life is limited; it will only last a few months in my root cellar.
That’s why I’ve made a habit of freezing butternut squash. Freezing allows me to preserve the freshness and nutritional value of the squash, so I can enjoy it throughout the year. Unlike some preservation methods that might alter the taste or texture, freezing keeps the squash’s natural sweetness and firmness intact. Plus, having a stash of pre-prepared squash in the freezer saves me a ton of time in the kitchen. Whether I’m whipping up a quick soup or adding it to a casserole, it’s ready to go whenever I need it.
Another big reason I love freezing butternut squash is to reduce waste. With the abundance of squash I harvest, there’s often more than I can use fresh. Freezing is my go-to method for making sure none of it goes to waste. It’s also a great way to stick to seasonal eating, allowing me to enjoy the flavors of summer and fall even in the depths of winter.
With all these benefits, I’ve found that freezing butternut squash is a simple and effective way to extend its shelf life while keeping its delicious qualities intact. Let me share how I select the best squash for freezing to make sure I get the most out of my harvest.

Selecting the Best Butternut Squash for Freezing
When it comes to freezing butternut squash, the key to success starts with choosing the right squash. Over the years, I’ve learned that selecting the freshest, ripest squash makes all the difference in preserving its flavor and texture during freezing.
First, I always look for squash that has a smooth, hard skin without any blemishes, cracks, or soft spots. A firm, unblemished skin is a good indicator of freshness and helps the squash stay in better condition during storage. I also pay attention to the color—ripe butternut squash has a deep, uniform tan or beige hue. If it’s still green or pale, it might not have developed its full flavor yet.
Another tip I follow is to choose squash that feels heavy for its size. This usually means it’s packed with dense, flavorful flesh. I give it a gentle tap—if it sounds hollow, that’s a sign it might be underripe. On the other hand, if it feels too light, it could be past its prime and starting to dry out.
Once I’ve selected the best butternut squash, I’m ready to move on to the preparation process, ensuring that the squash is prepped perfectly for freezing.

Step-by-Step Guide to Preparing Butternut Squash for Freezing
Once I’ve selected the best butternut squash from my harvest, the next step is to prepare it for freezing. Proper preparation is crucial to ensuring the squash retains its flavor, texture, and nutritional value. Over the years, I’ve developed a method that works well, keeping the squash in excellent condition for months.
1. Cleaning the Squash
The first step is always to clean the squash thoroughly. I start by rinsing the butternut squash under cool running water to remove any dirt or debris from the surface. Since the skin is tough, I use a vegetable brush to scrub it gently but thoroughly. This step is important even if you plan to peel the squash because it prevents any dirt from contaminating the flesh during the peeling process.
2. Peeling the Squash
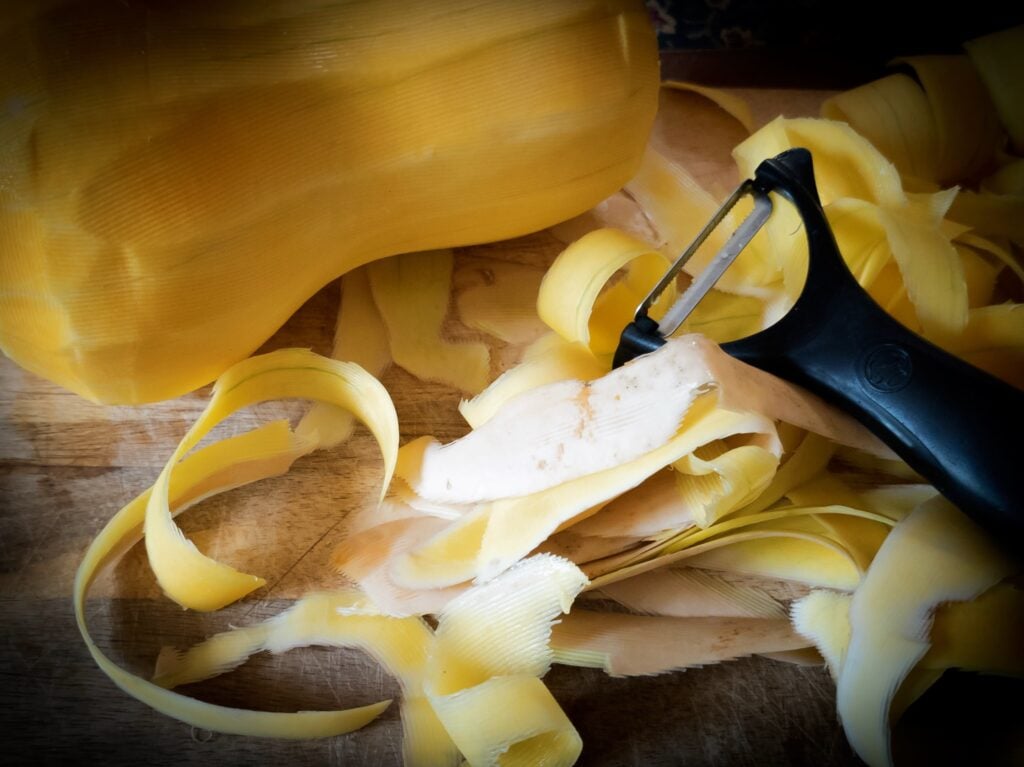
Next, I peel the squash. Butternut squash has a thick, tough skin, so I find it easiest to use a sharp vegetable peeler. Starting from the top, I peel downward in long, even strokes, making sure to remove all the skin. Sometimes, I make a second pass to get any greenish layer beneath the skin, which can be tough and less pleasant to eat.
3. Cutting the Squash
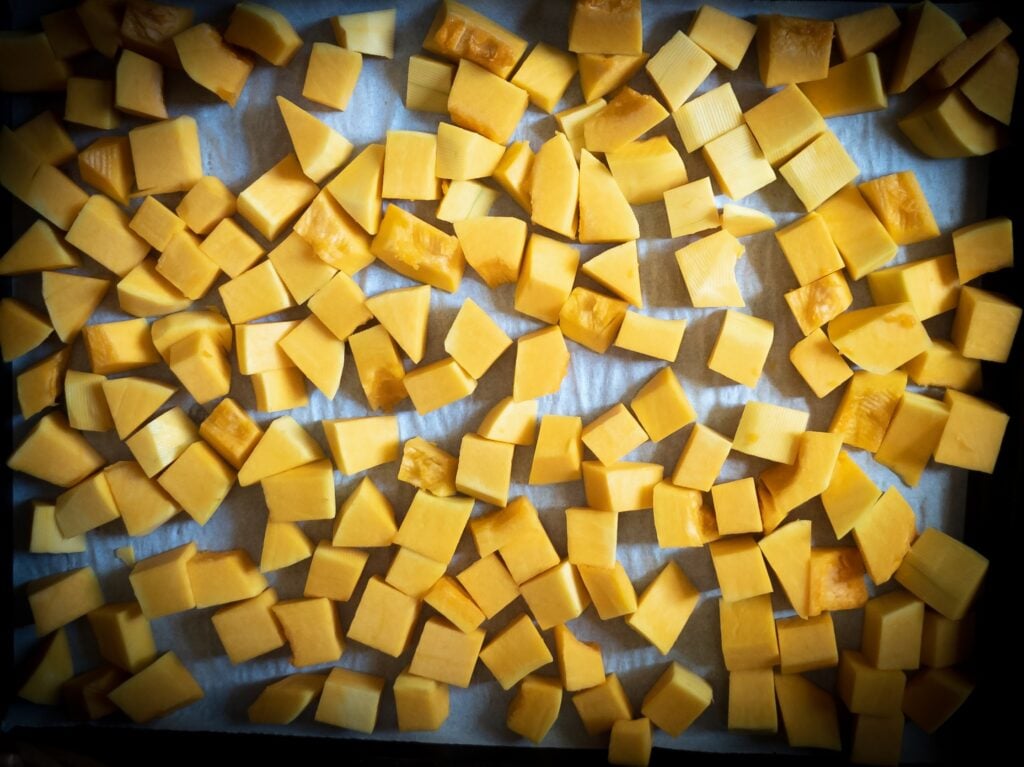
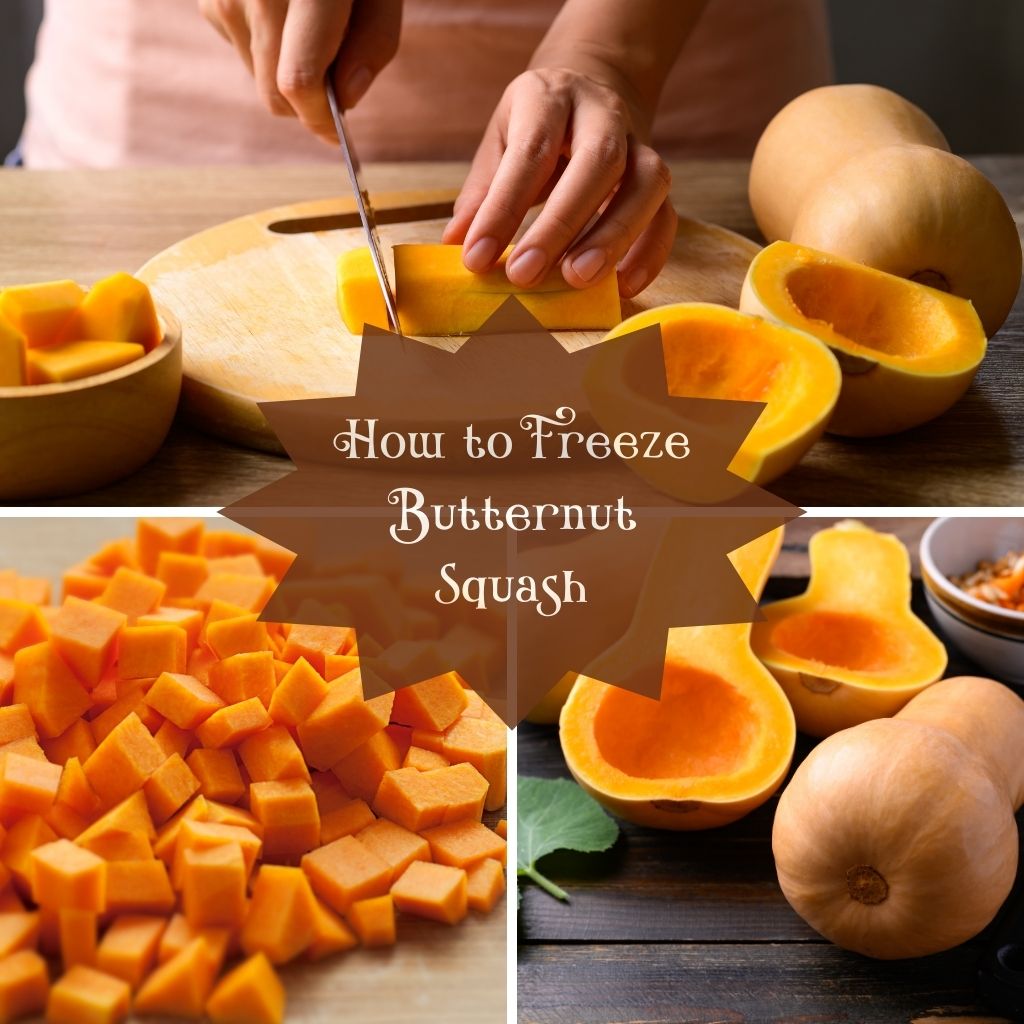
After peeling, it’s time to cut the squash. I start by slicing off both ends to create a stable base. Then, I cut the squash in half where the neck meets the rounder bottom part. This makes it easier to handle. I proceed by cutting each section in half lengthwise, exposing the seeds in the round bottom part. I scoop out the seeds with a grapefruit spoon and set them aside—I feed these to my chickens, so nothing goes to waste!
For freezing, I prefer to cut the squash into uniform cubes, about 1-inch in size. This size is versatile for various recipes and ensures even freezing and thawing.
4. Blanching the Squash (Optional)
Blanching is a step I sometimes take, depending on how I plan to use the squash later. Blanching involves briefly boiling the squash cubes for about 2-3 minutes, then plunging them into ice water to stop the cooking process. This helps preserve the color, texture, and flavor of the squash during freezing. While it’s not strictly necessary, especially if you’re in a hurry, blanching can make a noticeable difference in quality.
5. Preparing for Freezing
Now that the squash is peeled, cut, and optionally blanched, it’s ready for freezing. I’ll share the two methods I use in the next section: one for cubed squash and one for roasted and puréed squash. Both methods have their own advantages, and I choose based on how I plan to use the squash later on.
Two Methods For Freezing Butternut Squash
When it comes to freezing butternut squash, I rely on two tried-and-true methods: freezing cubed squash and freezing roasted squash puree. Each method has its own benefits and works well for different types of recipes. Here’s how I do it:
Method 1: Freezing Butternut Squash Cubes
This method is perfect for when I want to have ready-to-use squash cubes on hand for soups, stews, or roasting.
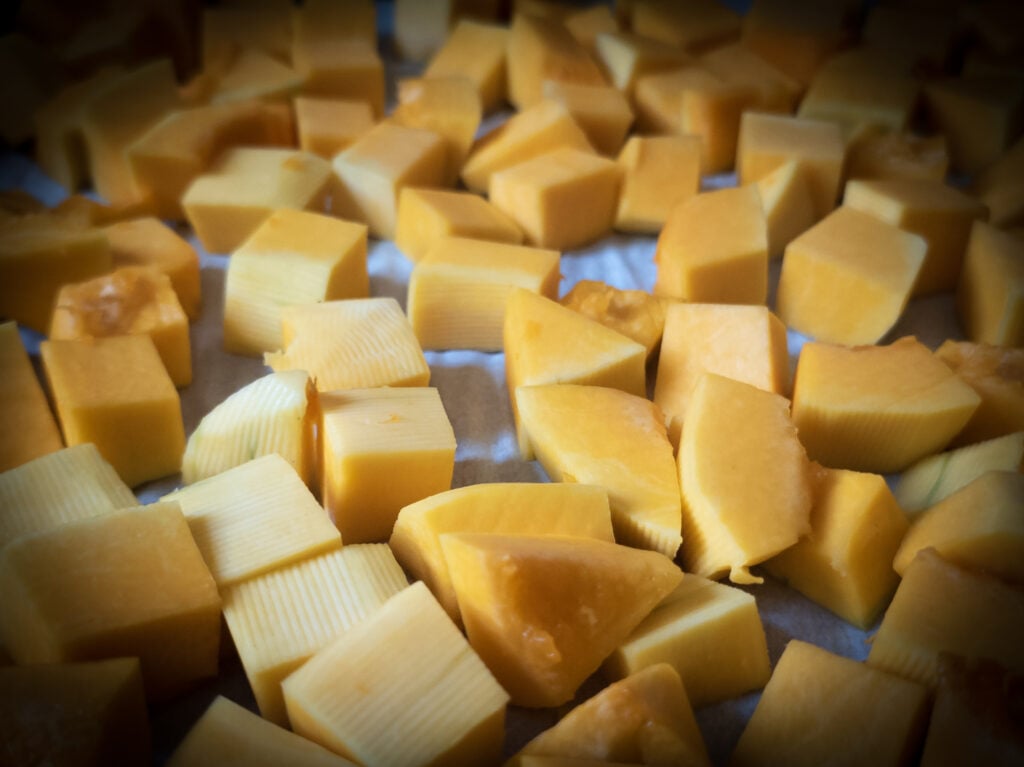
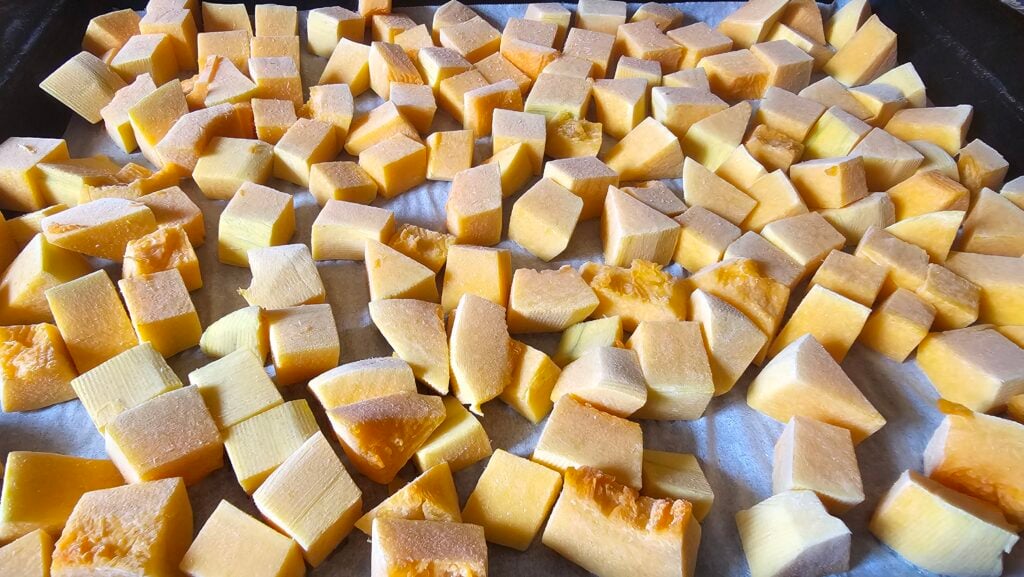
- Spread on a Baking Tray: After I’ve peeled, cut, and optionally blanched the squash, I spread the cubes in a single layer on a baking tray. This step is important because it prevents the cubes from sticking together as they freeze, making it easier to grab just the amount I need later on.
- Freeze Until Solid: I place the tray in the freezer and leave it there until the squash cubes are completely solid. This usually takes a few hours, but I sometimes leave them overnight to be sure.
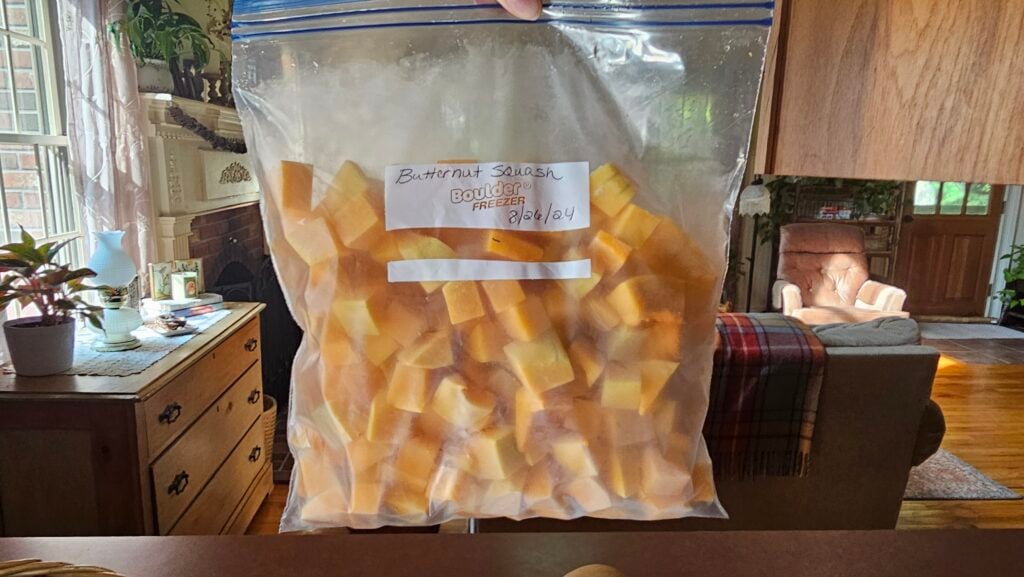
- Transfer to Ziplock Bags: Once the cubes are frozen, I transfer them into ziplock bags. I like to label the bags with the date and the contents, so I know exactly what I have and how long it’s been in the freezer. I press out as much air as possible before sealing the bags to prevent freezer burn.
- Storage: These frozen squash cubes will keep well for up to a year in the freezer. I can grab a handful whenever I need to add some butternut squash to a recipe, whether it’s a quick stir-fry or a hearty winter soup.
Method 2: Freezing Butternut Squash Purée
This method is ideal for when I want to use the squash for soups, sauces, or baking.
- Roast the Squash: First, I roast the butternut squash. I cut the squash in half lengthwise, remove the seeds, and place the halves cut-side down on a baking sheet. I roast them in the oven at 400°F (200°C) for about 45 minutes to an hour, or until the flesh is tender and easily pierced with a fork.
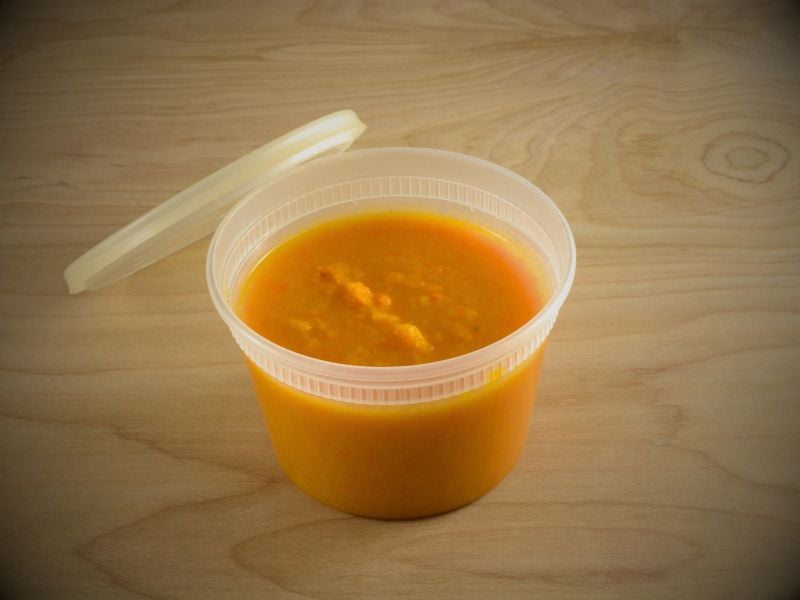
- Make the Puree: Once the squash is roasted and cooled slightly, I scoop out the flesh and transfer it to a food processor. I puree it until smooth, adding a little water or broth if needed to achieve the desired consistency. The result is a rich, creamy puree that’s perfect for soups, pies, or even as a side dish.
- Portion and Freeze: I divide the puree into portions based on how I plan to use it. Sometimes I use ice cube trays to freeze small portions, which are great for adding to sauces or smoothies. For larger quantities, I use freezer-safe containers or ziplock bags. Again, I label them with the date and contents.
- Storage: The puree will keep well in the freezer for up to six months. When I’m ready to use it, I thaw it overnight in the fridge or gently warm it in a pot on the stove.
Both of these methods have served me well over the years, allowing me to enjoy the sweet, nutty flavor of butternut squash whenever I like, regardless of the season.
Thawing and Using Frozen Butternut Squash
After successfully freezing butternut squash, the next step is to know how to thaw and use it effectively. Proper thawing ensures that the squash retains its texture and flavor, making it just as delicious as when it was fresh.
Thawing Frozen Butternut Squash Cubes
When I’m ready to use the frozen butternut squash cubes, I have a few different methods for thawing, depending on how I plan to use them:
Thawing in the Refrigerator: If I have the time, I place the frozen squash cubes in the refrigerator overnight. This slow thawing method is gentle and helps maintain the squash’s texture. By morning, the cubes are ready to be used in any recipe.
Direct Cooking from Frozen: Often, I don’t bother thawing the cubes at all. If I’m making a soup, stew, or casserole, I simply add the frozen cubes directly to the pot. They cook up nicely and retain their shape, adding a hearty texture to the dish.
Quick Thawing: If I need the squash quickly, I place the sealed bag of frozen cubes in a bowl of cold water. This method usually thaws the squash within an hour or so. It’s a good middle ground when I’m short on time.
Thawing Roasted Butternut Squash Puree
For the roasted squash puree, the thawing method depends on how I plan to use it:
Refrigerator Thawing: As with the cubes, I usually thaw the puree in the refrigerator overnight. This ensures that it’s evenly thawed and ready to be used in recipes like soups, sauces, or baked goods.
Direct Use in Hot Dishes: If I’m adding the puree to a soup or sauce, I often skip thawing and add the frozen portions directly to the pot. The heat from the dish melts the puree quickly, and it blends smoothly with the other ingredients.
Microwave Thawing: For a quick thaw, I sometimes use the microwave. I place the frozen puree in a microwave-safe dish and heat it on a low setting, stirring occasionally until it’s fully thawed. This method works well when I need to get dinner on the table quickly.
Creative Ways to Use Frozen Butternut Squash
Once thawed, the possibilities for using frozen butternut squash are endless. Here are a few of my favorite ways to enjoy it:
- Soups and Stews: Frozen squash cubes are a perfect addition to any hearty soup or stew. They add both flavor and nutrition, making the dish more satisfying.
- Roasted Vegetables: I often toss thawed squash cubes with a bit of olive oil, salt, and pepper, then roast them in the oven until they’re caramelized and tender. They make a fantastic side dish or salad topping.
- Butternut Squash Risotto: I love stirring thawed squash puree into a creamy risotto. It adds a rich, velvety texture and a burst of flavor that elevates the entire dish.
- Smoothies and Baked Goods: For a unique twist, I sometimes blend the squash puree into smoothies or use it as a base for baking. It adds natural sweetness and a boost of nutrients to everything from muffins to pancakes.
Freezing butternut squash has allowed me to enjoy its delicious flavor and versatility throughout the year. Whether I’m using cubes or puree, there’s always a way to incorporate this wonderful vegetable into my meals, no matter the season.


More to Explore
Looking for more delicious ways to preserve your favorite fruits and vegetables? Check out our other canning and preserving recipes for inspiration! Explore now and start filling your pantry with homemade goodness.
- Canning Basics 101 for Successful Food Preservation
- Easy Homemade Dilly Beans: AKA Pickled Green Beans
- Pickled Eggs Recipe & Easy Guide with Variations
- Fermented Zucchini Pickles: Delicious and Good for Your Gut
- Old Fashioned Pickled Beets: The Best Way To Preserve Beets
- Easy Bread and Butter Pickles Recipe
- The Best Strawberry Rhubarb Jam Recipe You’ll Ever Make
- Small Batch Zucchini Relish Recipe: A Delicious Way To Preserve the Season
- Crunchy Delights: Dehydrating Zucchini Chips for a Healthy Family Snack
- Freezing Raspberries Perfectly In 4 Easy Steps
- How to Freeze Green Beans: The Best Method for Preserving Freshness and Flavor
- The Best Way to Freeze Rhubarb for Year-Round Use
As an Amazon Associate, I earn from qualifying purchases.

