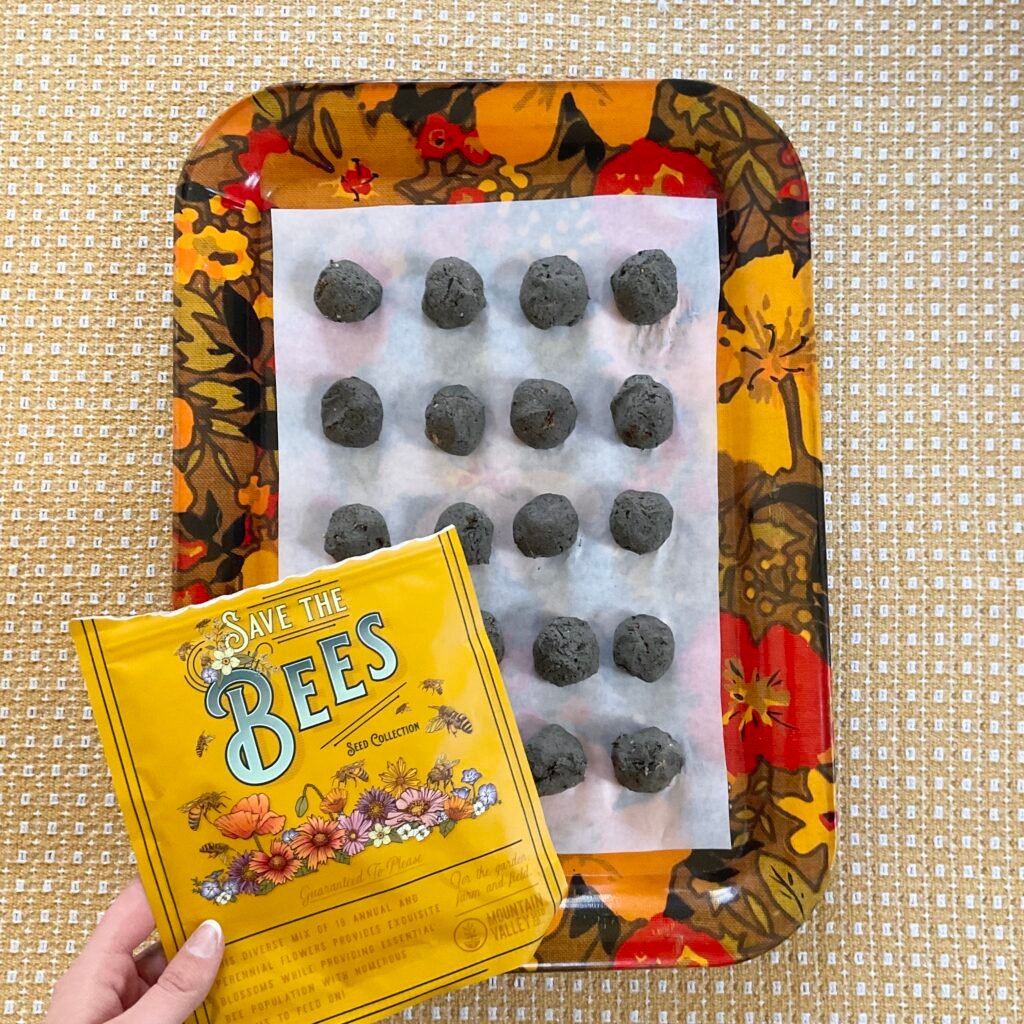
Every spring, one of my favorite traditions is making DIY seed bombs, a perfect blend of my love for nature and my desire to make a positive environmental impact. These little balls of clay, compost, and carefully selected seeds are not just about gardening; they’re a statement, a way to breathe life and color back into neglected or damaged spaces. They’re about fighting off invasive plants and providing much-needed support to our bees and butterflies.
But crafting DIY seed bombs is more than a fun springtime project; it’s a form of eco-activism. Each DIY seed bomb I create and plant feels like a personal step towards healing the planet. This guide isn’t just about showing you how to make seed bombs; it’s an invitation to join a movement, to get hands-on with transforming empty spaces into vibrant areas thriving with native plants.
Taking gardening to the streets with DIY seed bombs is about unlocking the potential in overlooked urban spaces, turning them into lush mini-oases. These little balls are designed to thrive even in the tough urban environment. The next time you’re out, consider bringing along some seed bombs. Spotting a barren or neglected area and giving it a toss with a seed bomb can spark a transformation, turning it into a thriving spot of greenery.
However, it’s important to practice this with mindfulness. Ensure you’re seed bombing in places where it’s appropriate, like your own garden, a friend’s backyard, or community spaces open to such initiatives. Avoid sensitive areas like state parks or protected lands unless you have explicit permission. This way, we contribute positively without overstepping boundaries. So, let’s embark on this journey together, making our world greener, one seed bomb at a time, with this easy and engaging step-by-step guide.
Selecting the Right Seeds
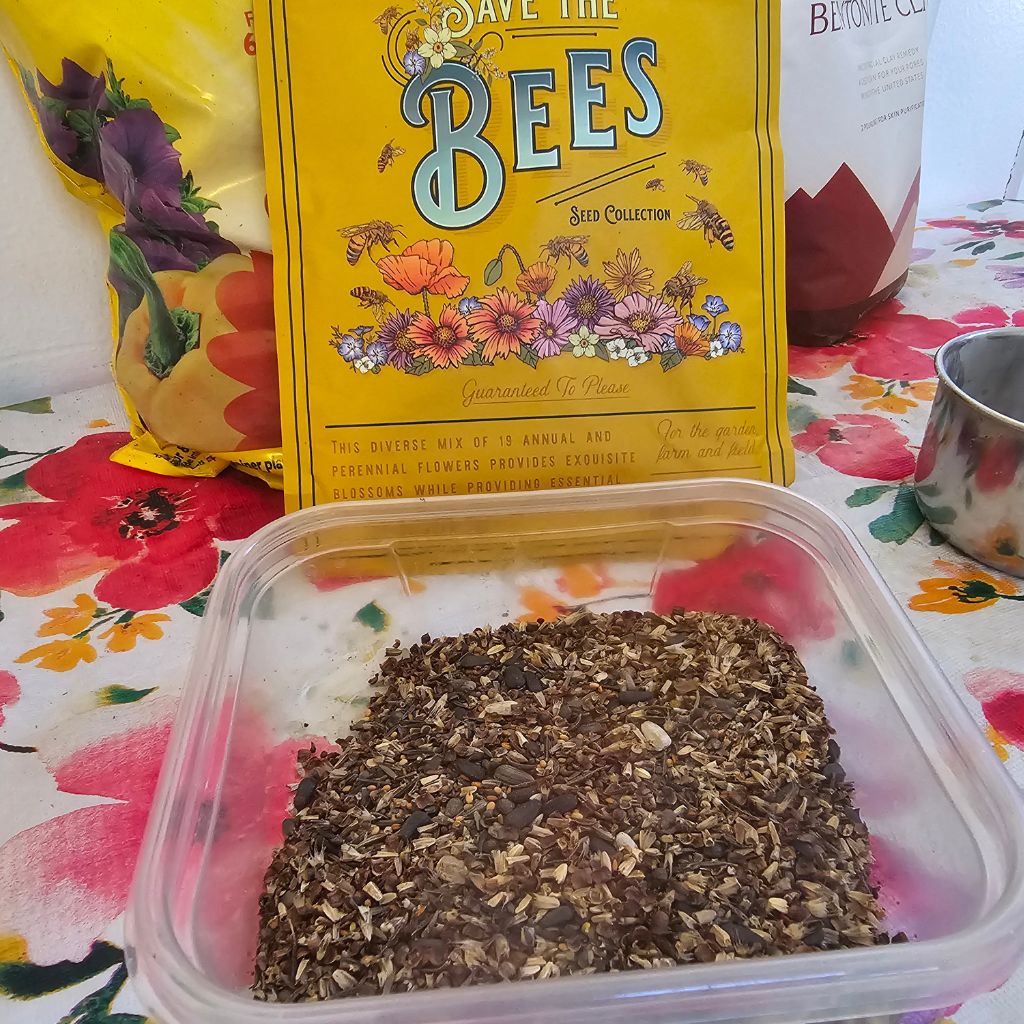
The process of making DIY Seed Bombs begins with selecting the right seeds. Native wildflowers are often chosen for their resilience and ability to thrive with minimal care, making them perfect candidates for eco-activism projects. Choosing the right seeds for your seed bombs is an exciting opportunity to contribute to the local ecosystem and support native wildlife.
When selecting seeds, it’s important to consider the specific needs of the plants and the environments they thrive in. For those of us in the Northeast, here’s a curated list of native species that are well-suited for seed bomb projects, categorized by their preferred growing conditions.
For areas that enjoy plenty of sunshine and retain moisture well, consider these vibrant options:
- New England aster (Symphyotrichum novae-angliae) and Tall white aster (Doellingeria umbellata) for a splash of purple and white.
- Swamp milkweed (Asclepias incarnata) and Common milkweed (Asclepias syriaca), crucial for monarch butterflies.
- Blue Vervain (Verbena hastata) and Rosy meadowsweet (Spirea tomentosa) for touches of blue and pink.
- Boneset (Eupatorium perfoliatum) and Joe-pye weed (Eutrichium spp.) for their robust presence.
- Wild clematis (Clematis virginiana) and Switch grass (Panicum virgatum) for structure and texture.
For those sunny spots with drier soils, these species can add resilience and color:
- Black-eyed coneflower (Rudbeckia hirta) and various Beardtongues (Penstemon digitalis and P. hirsutus) for their hardiness and charm.
- Wild Rose (Rosa virginiana) and Meadowsweet (Spirea alba) for a classic, romantic feel.
- Little Bluestem (Schizachyrium scoparium) and Butterfly milkweed (Asclepias tuberosa) for texture and vibrant color.
- Smooth blue aster (Symphyotricum laevis) and Downy goldenrod (Solidago puberula) for late-season blooms.
- Wild Strawberry (Fragaria virginiana) for ground cover and sweet treats.
In shaded areas with medium moisture, consider these understory and woodland species:
- Blue wood aster (Symphyotrichum cordifolium) and Large-leaved wood aster (Eurybia macrophylla) for delicate blooms.
- White snakeroot (Ageratina altissimo) and various Woodland goldenrods (Solidago caesia, S. flexicaulis) for light and texture.
- Crane’sbill (Geranium maculatum) and Golden groundsel (Packera aurea) for ground cover and color.
And let’s not forget about trees, the backbone of any habitat:
- Oaks (Quercus spp.), Maples (Acer spp.), and Ash (Fraxinus) for their majestic stature and ecological importance.
- Wild cherry and plum (Prunus spp.) and Birch (Betula spp.) for their blossoms and distinctive bark.
By choosing to make DIY seed bombs with these native species, you’re not just adding beauty to the landscape; you’re also providing essential food and habitat for local wildlife, from pollinators to birds. It’s a wonderful way to engage with the natural world and help native plants reclaim their rightful place in our local ecosystems.
Materials and Preparation
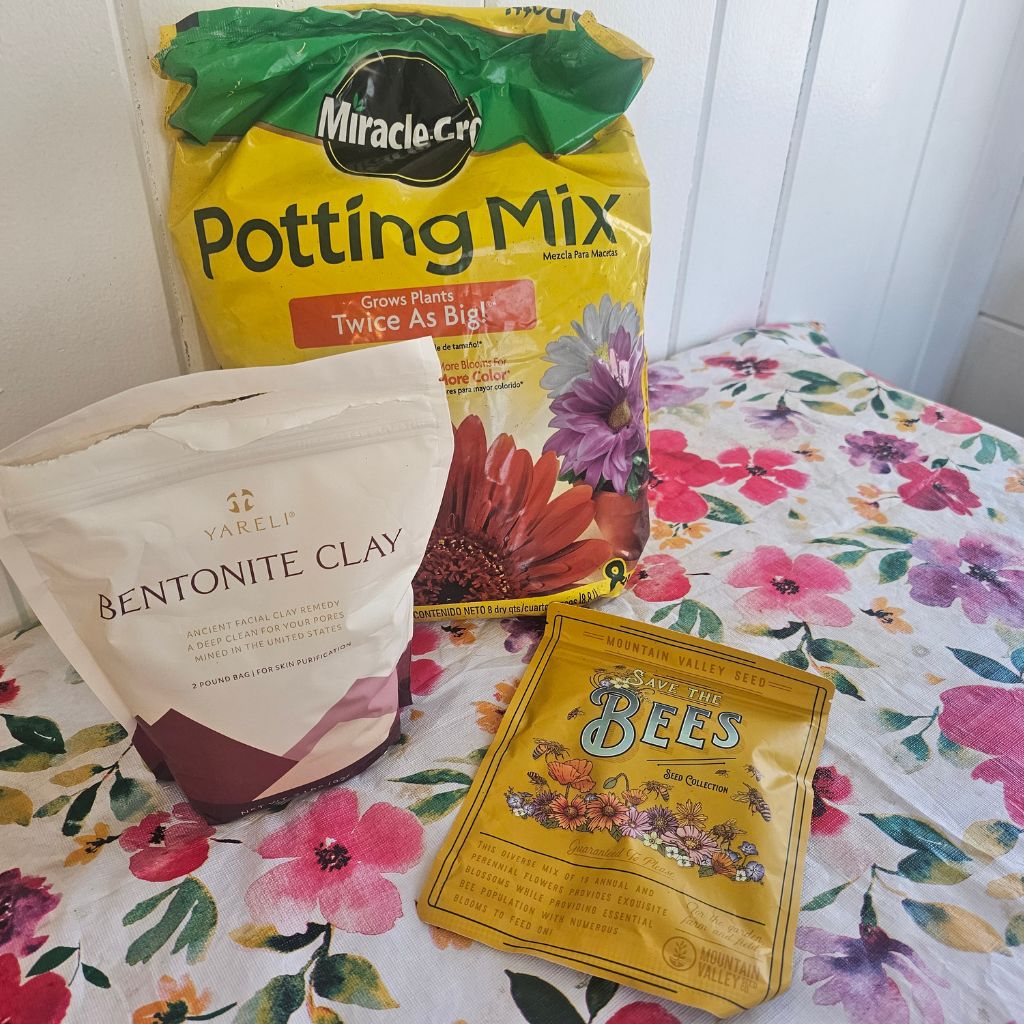
Following your thoughtful selection of seeds, the next step is to blend them with natural clay and compost or potting soil. The clay acts as a binding agent, holding the seed bomb together, while the compost provides essential nutrients to help the seeds get a healthy start once they germinate. The mixture is then moistened with water to a pliable consistency, rolled into balls, and left to dry. Once dry, these seed bombs are ready for action.
Here’s a quick checklist to ensure you have everything you need for your seed bomb project:
- Clay Powder: This is the glue that holds your seed bombs together until they’re nestled into the earth. I am using bentonite clay, but air dry clay will also work.
- Compost or Potting Soil: This is where your seeds will get their initial burst of nutrients to kick-start growth.
- Seeds: Pick a mix that speaks to you and is right for your environment.
- Water: You’ll need just enough to bind the mixture together without making it soggy.
- Bowl: A container for combining your clay, soil, and seeds.
- Spoon or Spatula: An ideal tool for mixing everything evenly.
- Tray: A flat surface for drying your seed bombs once they’re shaped.
- Gloves (optional): If you prefer to keep your hands clean, gloves are a great idea.
With these items at the ready, you’re all set to craft your very own eco-friendly DIY seed bombs, poised to infuse dormant spaces with life and color.
Shaping and Drying Your Seed Bombs
Creating DIY seed bombs is a highlight for me, and here’s how you can make your own, step by step:
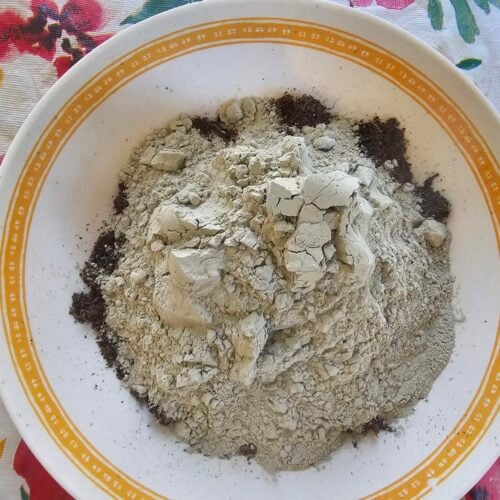
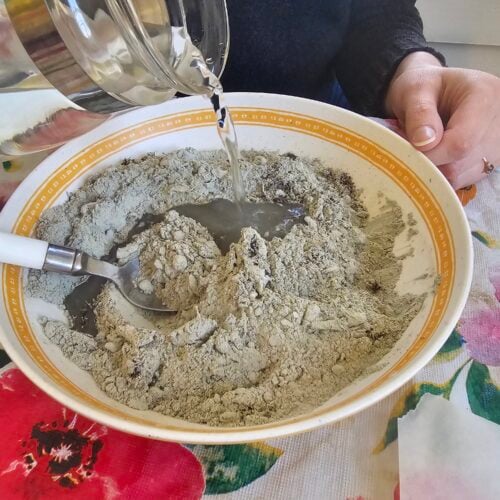
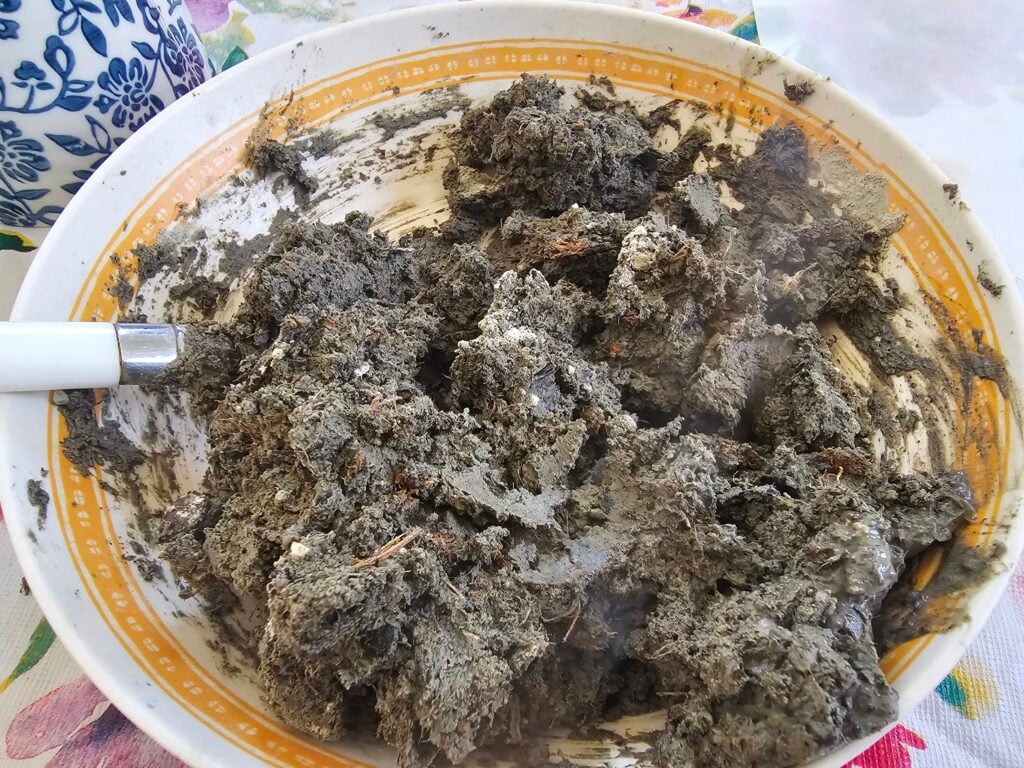
Mix Your Ingredients: Combine equal parts compost or potting soil with clay. Add water gradually until you achieve a dough-like consistency that sticks together but isn’t soggy.
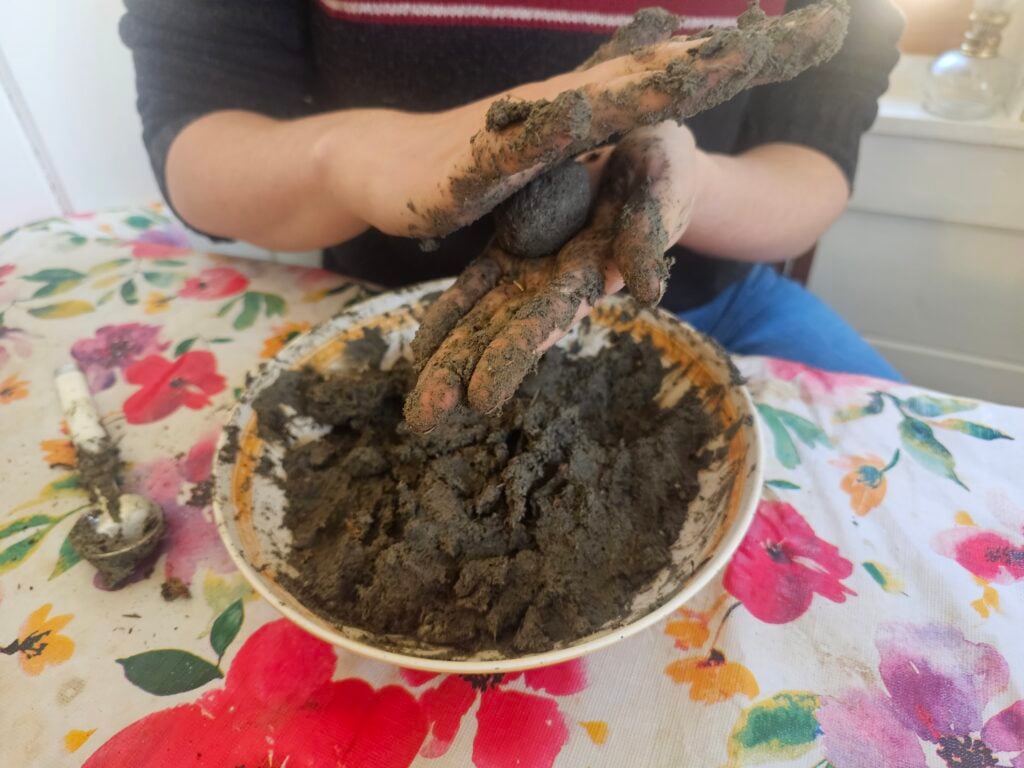
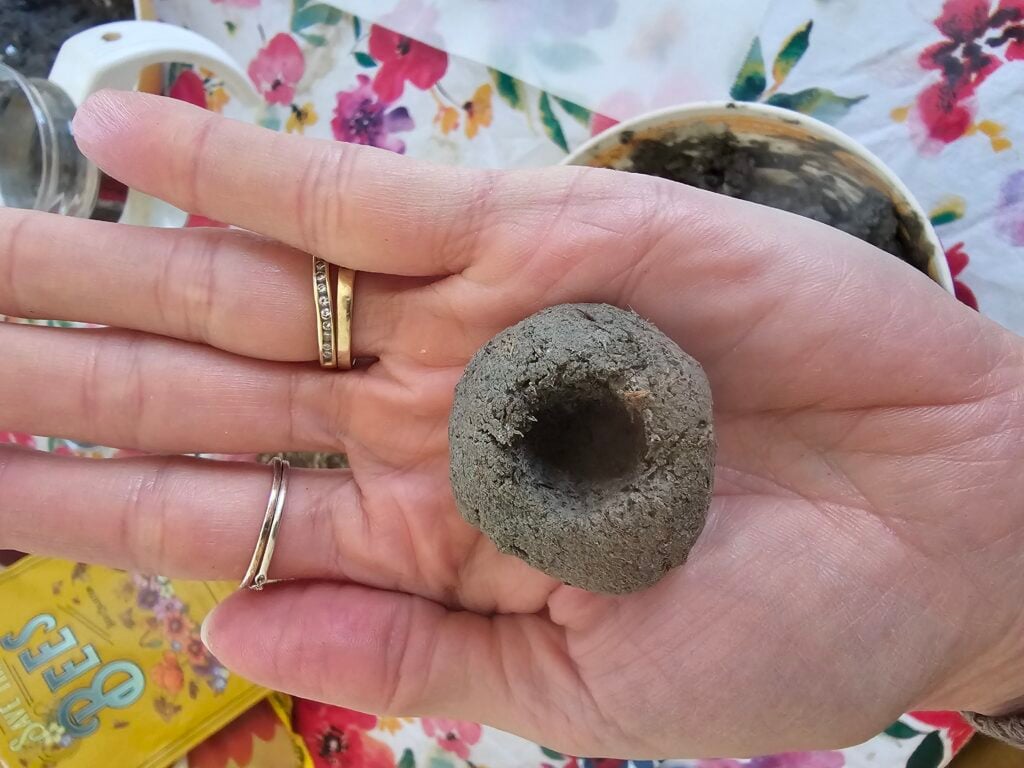
2. Form the Seed Bombs: Take a small amount of the mixture and roll it in your hands to form a ball about the size of a marble. This hands-on step is not only fun but lets you feel the potential in each seed bomb.
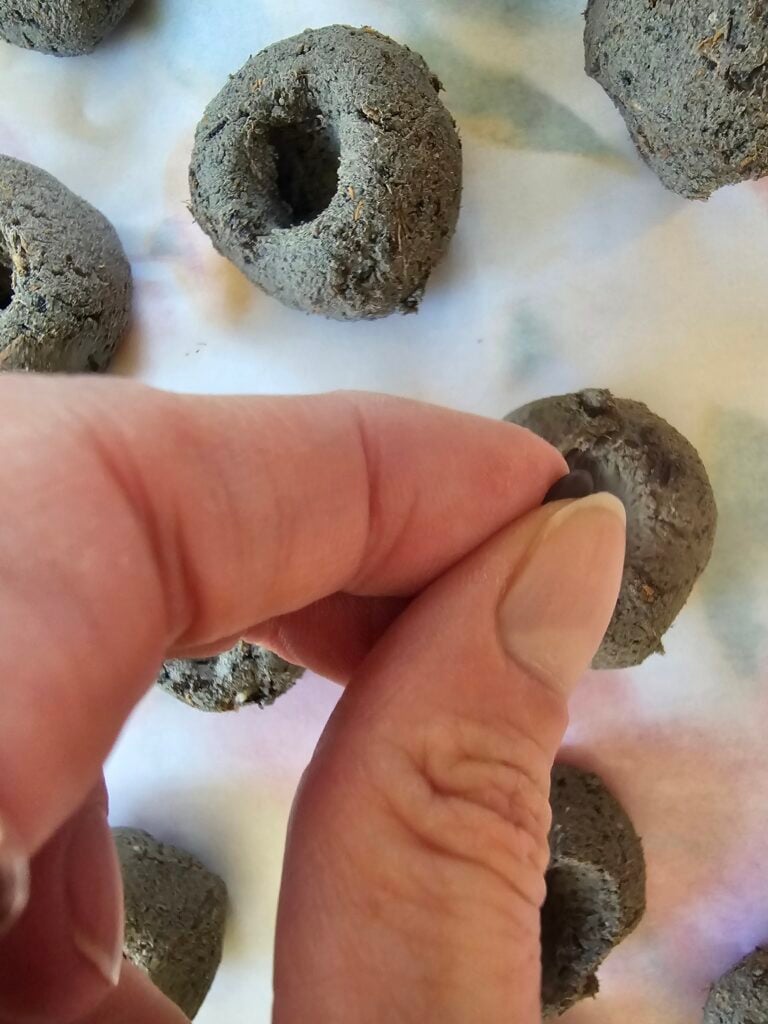
3. Add the Seeds: Press your finger into each ball to create a small indentation. Place 3 seeds for larger seeds like milkweed, or a pinch for smaller seeds, into the indentation. Then, gently roll the seed into the clay mixture to enclose it.
4. Size Adjustments: If you’re using larger seeds, such as acorns, scale up to form a ball about the size of a golf ball. For seeds from maples, ashes, or wild cherries, aim for a size similar to a grape.
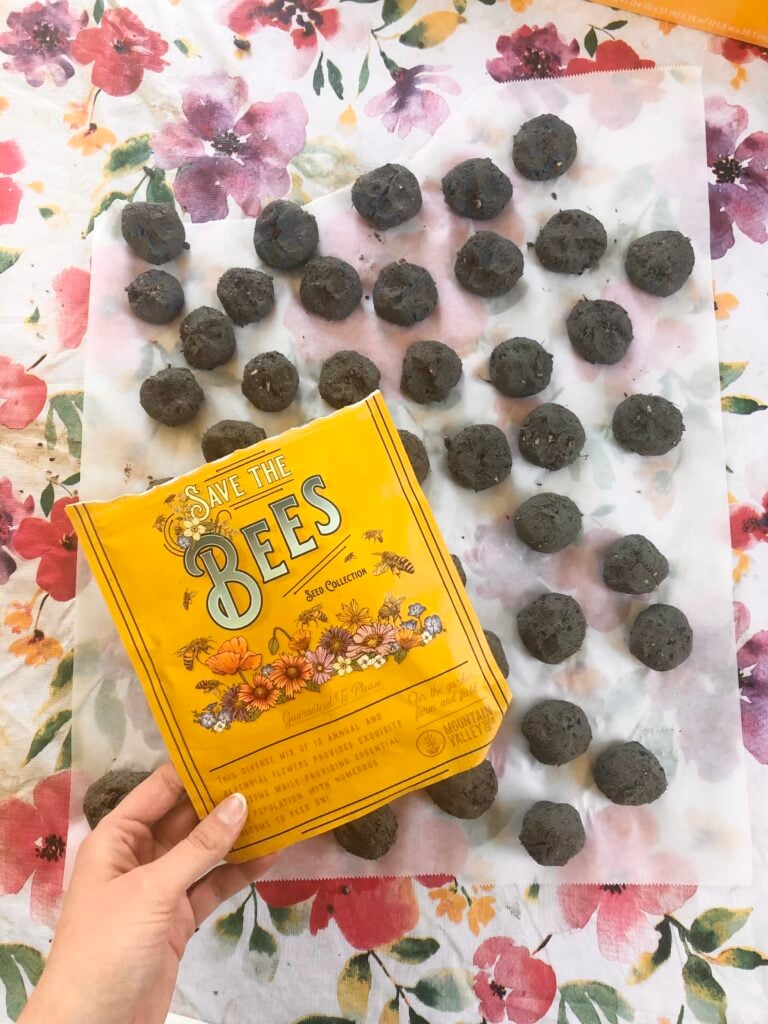
5. Let Them Firm Up: Allow the DIY seed bombs a couple of hours to firm up. Be careful not to let them dry out completely on the inside during this time.
6. Store Until Ready: Once they’ve firmed up but haven’t dried out, place the DIY seed bombs in a plastic bag and store them in the refrigerator until you’re ready to plant them.
7. Choose the Right Location: Remember, this activity is best for areas where you have permission, like your own garden, a friend’s backyard, or community spaces open to such initiatives. Avoid using them in state or national parks or protected conservation lands without explicit permission.
When to Scatter your DIY Seed Bombs
When it comes to planting your DIY seed bombs, timing is everything, and the sweet spot for tossing them is from fall right through to the early spring. You see, many native plants need a good chill to wake up and start growing. Throwing your seed bombs during the cool and damp season helps them settle into the soil comfortably, undergoing their necessary cold rest period, and preparing them perfectly for sprouting.
Watch the calendar closely, because by the time we hit mid-May, the weather warms up and the soil starts to dry out. This can be tough on your seeds if you’re not there to water them regularly. They might struggle to survive without a little extra care.
Here’s a handy tip to remember: seeds have different needs. So, before you dive into making DIY seed bombs, take some time to research the specific needs of the seeds you want to use. Understanding what your seeds need to thrive until it’s time to plant them can really help your seed bombs transform from simple clay balls to vibrant spots of greenery and color in your garden or local area.
Check Out the Other Eco-Friendly Projects
If you enjoyed this eco-friendly project for making DIY seed bombs, here are a few others you might like:
- Homemade Bird Food: 3 Fun Recipes to Keep Backyard Birds Happy
- Watering Stations 101: An Easy Way to Enhance Pollinator Habitats
- Recipe for Cinnamon Ornaments: The Perfect Addition to an Old-Fashioned Holiday
- Branch Weaving: Create a Unique & Whimsical Nature Craft in a Weekend
- 6 Easy Steps to Setting Up a Rain Barrel Rainwater Collection System
As an Amazon Associate, I earn from qualifying purchases.

