Fall is finally here! The leaves are changing, the air is crisp and there’s a feeling of magic in the air. Don’t you feel that the Autumn season has such an intense magic all its own? It makes sense why we often feel like our senses become more keen when experiencing nature at this point along our calendars… isn’t life beautiful?
As I sink down into this magical time of year, I am compelled to spend as much quality time as possible outdoors before winter takes over for good.


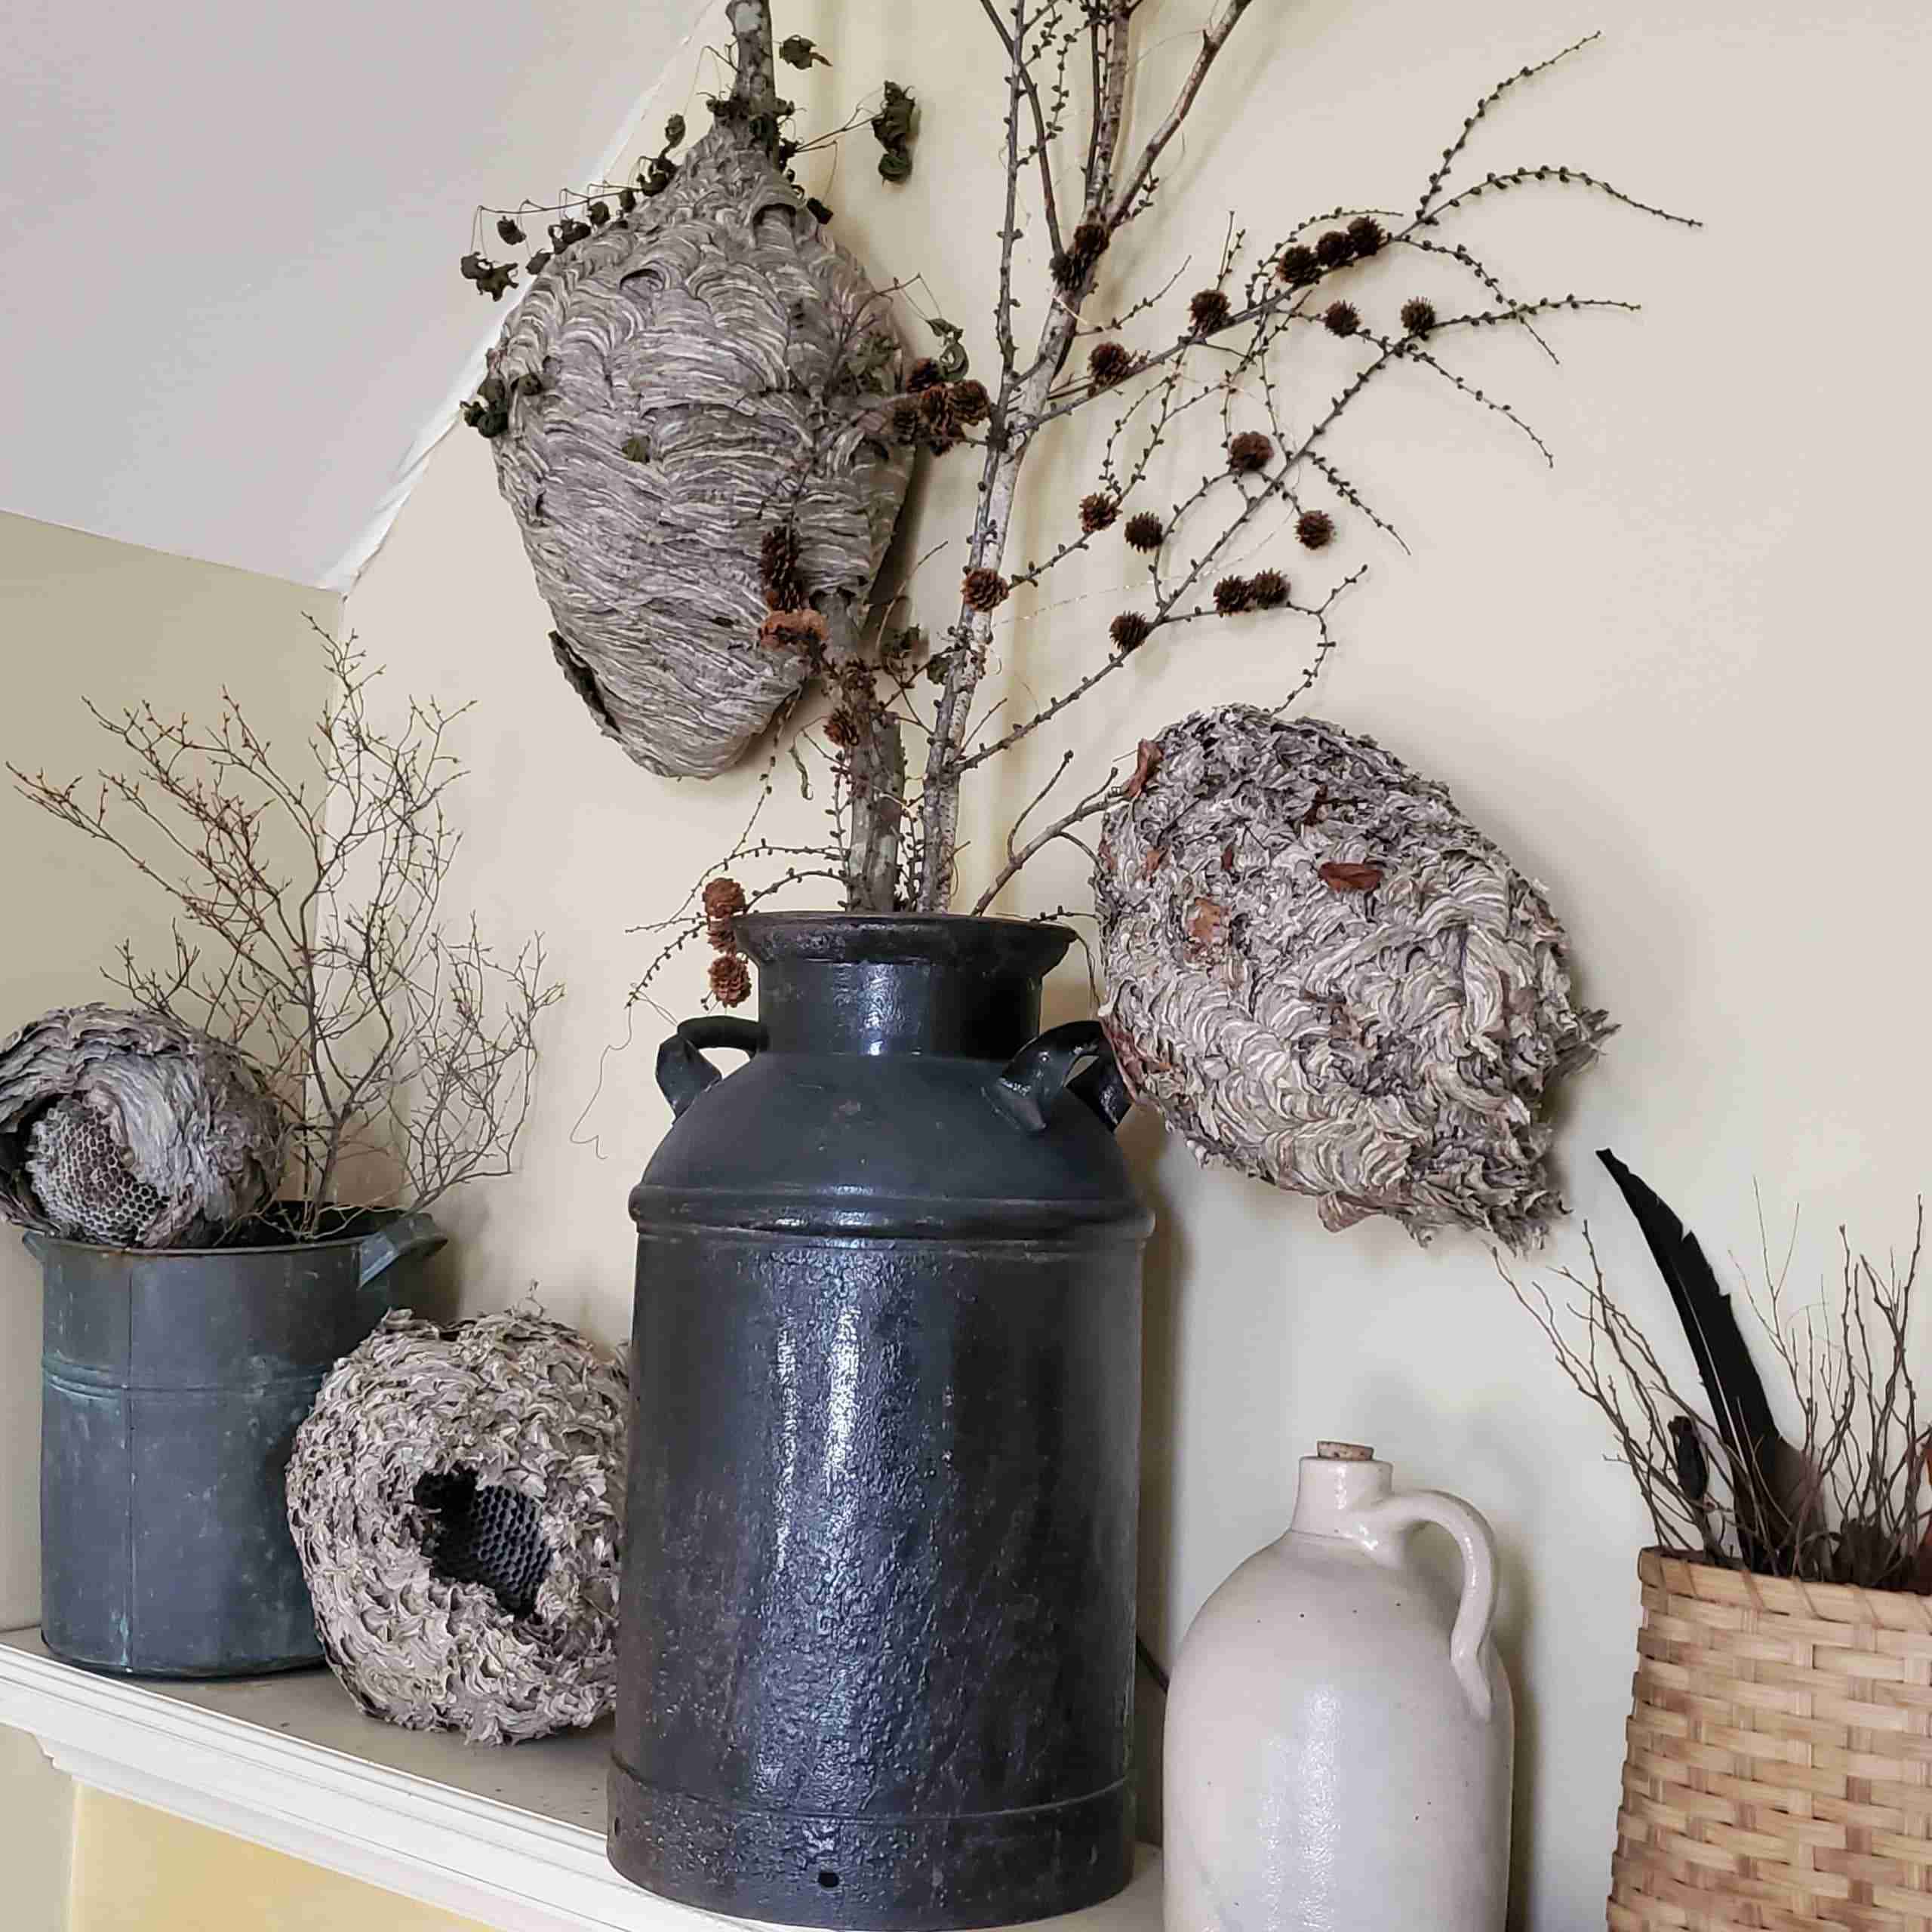
I also happen to be a nature collector. That is…I collect things found in nature such as winter-abandoned giant hornets nests (I have 7 of them), birds nests, seed pods, dried flowers, rocks, etc. You get the idea. It also makes sense then, that I would love to collect fall leaves during this time of year. The only trouble is how to make them last.
Have no fear, this post is going to show you how to make waxed leaves that will allow you to preserve these gifts of nature indefinitely for use in craft projects or simply for display.

Supplies for Making Waxed Leaves
Supplies Needed:
- Fall leaves
- Paraffin wax
- Mini crock pot, double boiler, or makeshift double boiler
- Waxed Paper
- Small tongs or tweezers
Waxing Leaves Step-by-Step
Step 1) Selecting Leaves
Selecting leaves for use in this project couldn’t be easier. Whether you live in the country with lots of trees, or in the city, there will be plenty of opportunities for you to find the natural material needed for this craft.
Simply look around where you live for leaves that have begun to change color. Look for a variety of shapes, sizes and colors.
In the autumn, there is a natural beauty in the leaves that fall from the trees. Collecting these beautiful specimens is not only therapeutic and peaceful but also educational. I recommend bringing along a field guide to trees that grow where you live so that you can seize this opportunity to learn about the different types of trees you find and how to identify them from their leaves. Here’s a great field guide that I love and use. — National Wildlife Federation Field Guide to Trees of North America

Step 2) Preparing the Work Area
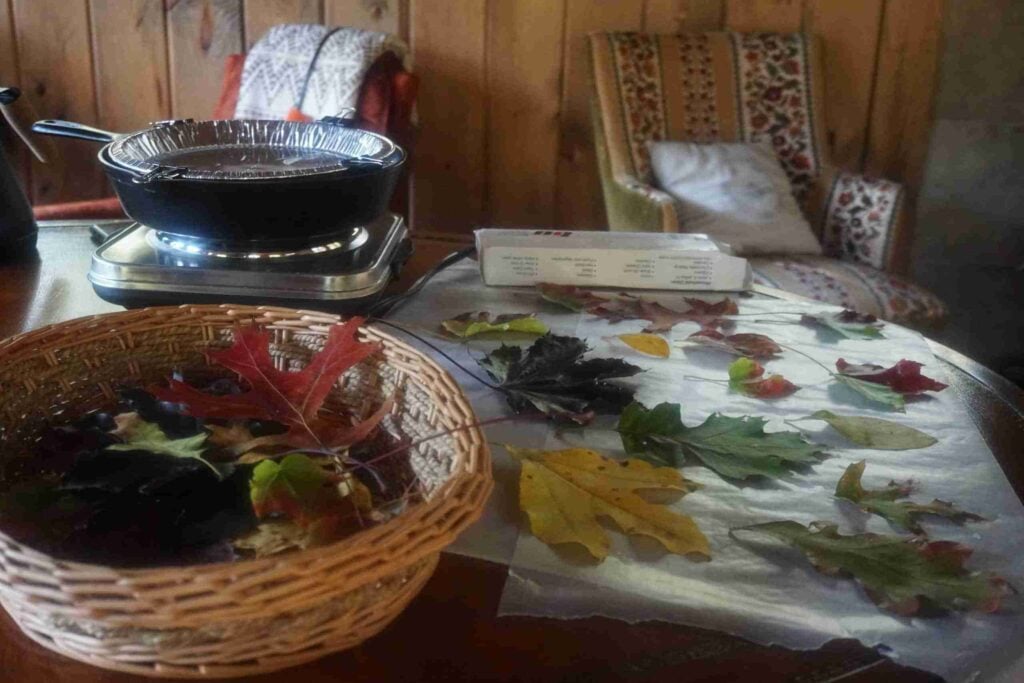
Wax is messy! To avoid having to scrape your countertops or work surface down afterward, line your surface with waxed paper. This also ensures your waxed leaves lift off easily when dry.

Step 3) Melting the Wax
You can melt the parafin wax in a small crock pot or a double boiler. Either of these helps to prevent the wax from burning.
I don’t have a double boiler, so I improvised by using a disposable pie plate suspended with metal paper clips over a 9 inch cast iron pan filled with water.
This actually worked perfectly with the clips keeping the pie plate from becomming submerged in the pan below. The clips worked to keep the pie plate suspended about an inch from the bottom of the pan below.

Step 4) Dipping the Leaves
Once the wax is completely melted, you can begin dipping the leaves. To do this, hold on to the leaf’s stem and carefully submerge it into the how wax, making sure all areas get covered. Lift the leaf out and allow any excess wax to drip off before placing your leaf on the waxed paper.
Take care not to let the wax touch your fingers! For leaves with short stems, it’s a good idea to use a pair of small tongs or tweezers to prevent accidental burns.
Storing Leftover Wax
The best thing about using a pie plate to melt the wax in is that you can simply leave it to harden afterward and then simply remelt as needed for other projects.
Fall Crafts to Make With Waxed Leaves
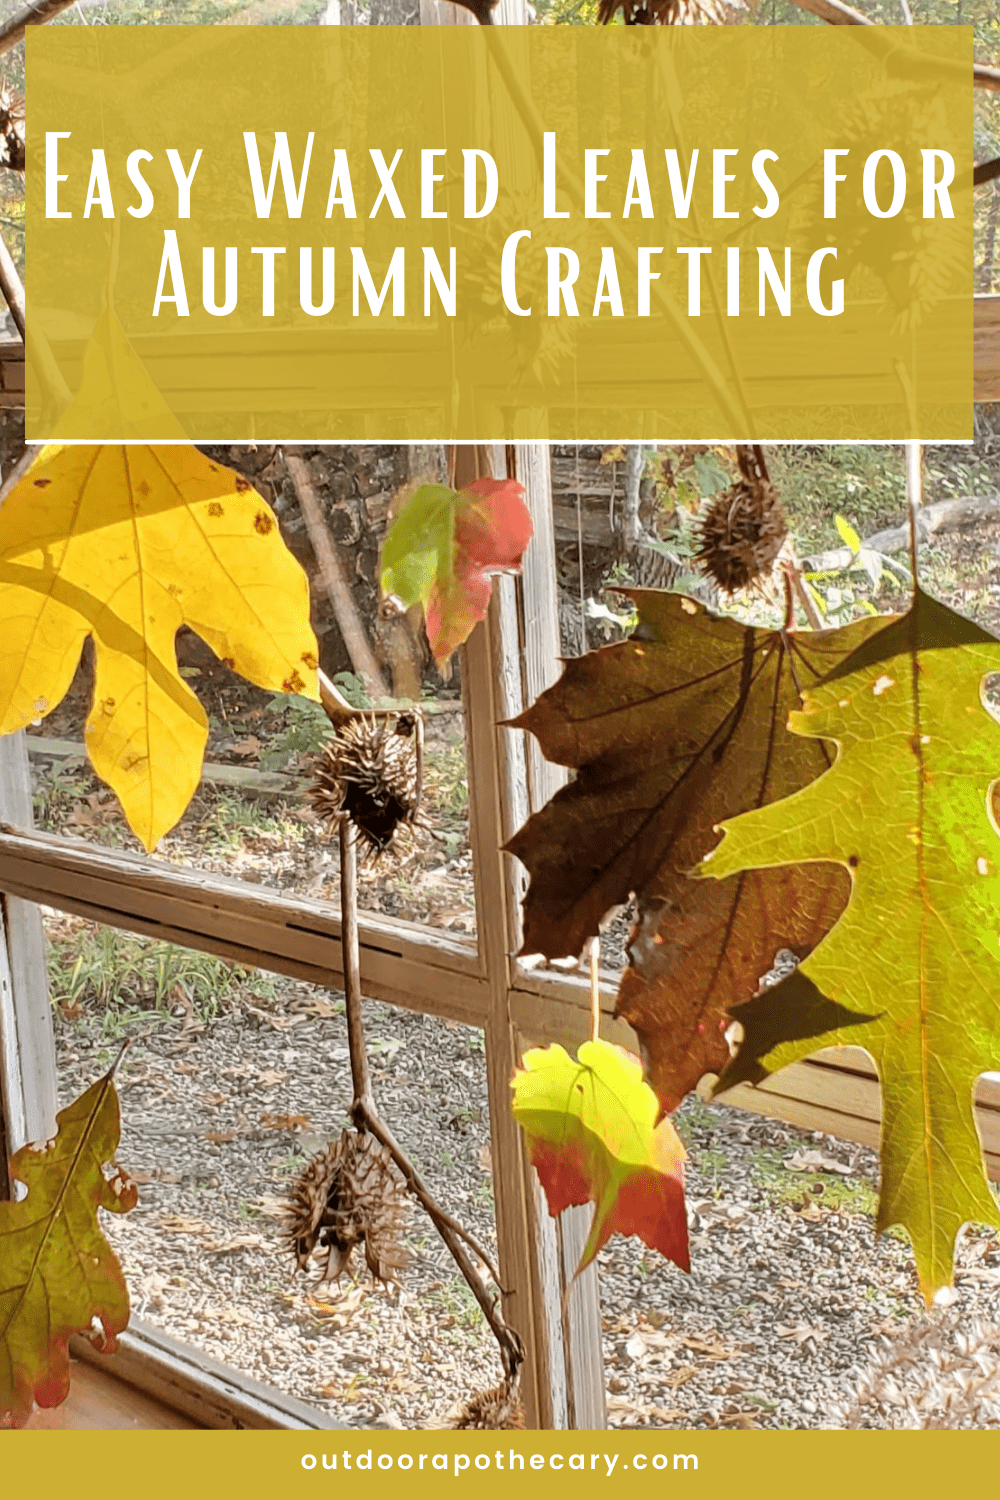
These leaves are so beautiful and will be a wonderful addition to your home this season. They make such an eye-catching scene on the window, I love seeing them there all year round!

One simple idea is to make a mobile of sorts buy hanging clusters of leaves by monofiliment from an embroidery hoop. I wrapped a strand of decorative berries around the embroidery hoop to dress it up even more.
 Another idea is to hang finished leaves from varying lengths of monofilament attached to a twig or tree branch and hung in your home somewhere. I chose to place my branch in a sunny window in my herbal studio.
We hope you enjoyed this article about how to preserve fall leaves by dipping them in wax. If you want more nature-inspired crafts, be sure to subscribe to our newsletter!
